SAP EWM CF136: Setting Up Bulk Storage for EWM Managed Warehouse in SAP
This is going to be an advanced level of configuration as we are also going to configure the Auto Packaging and Queue determination for our Bulk Storage Putaway process and we are going to use the RF Menu to perform the Putaway process.
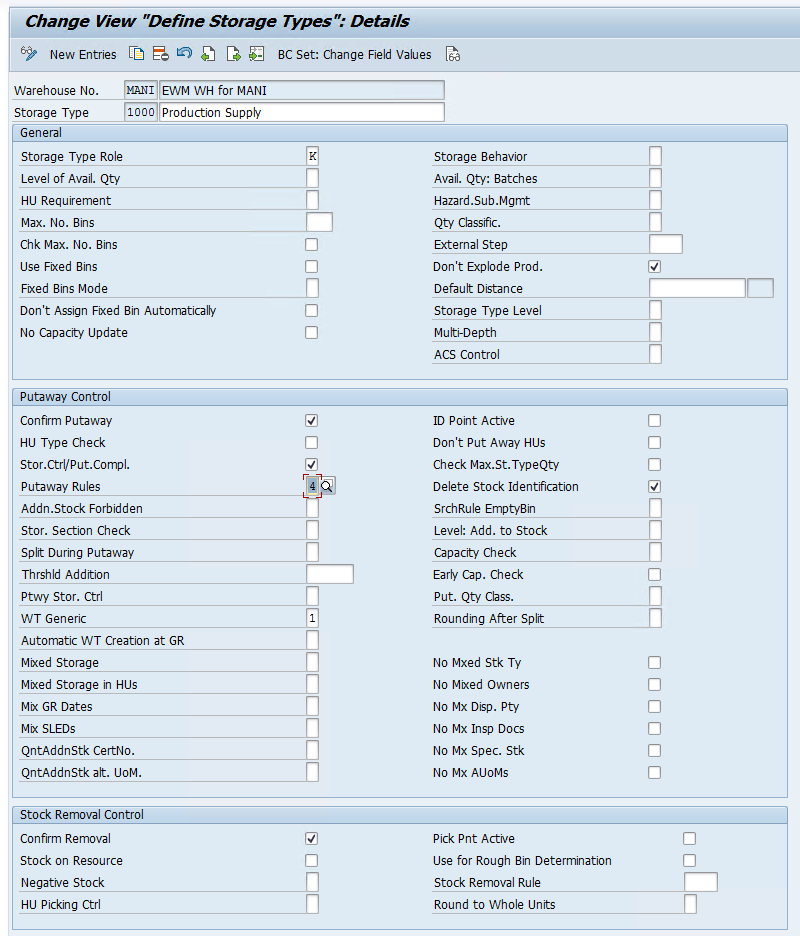
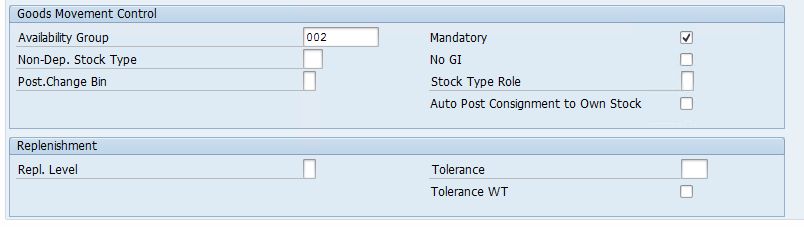
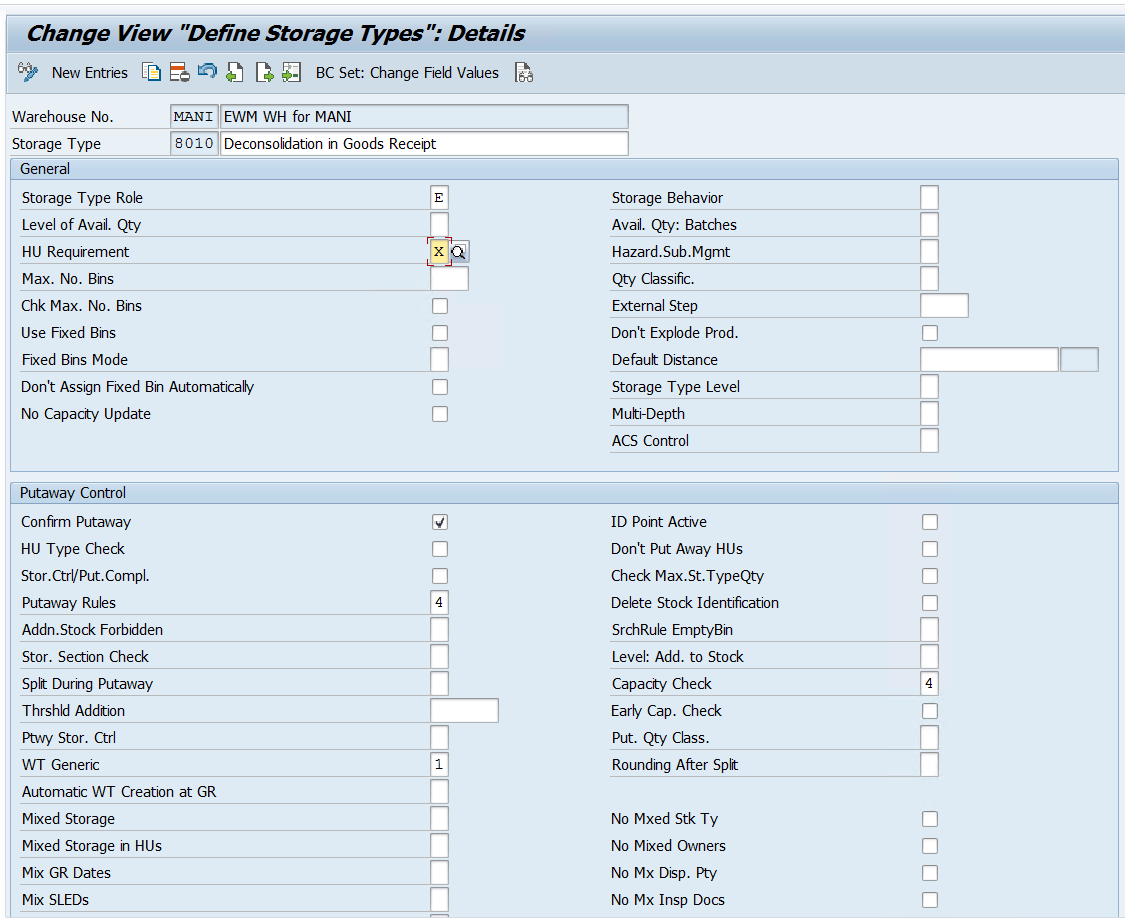
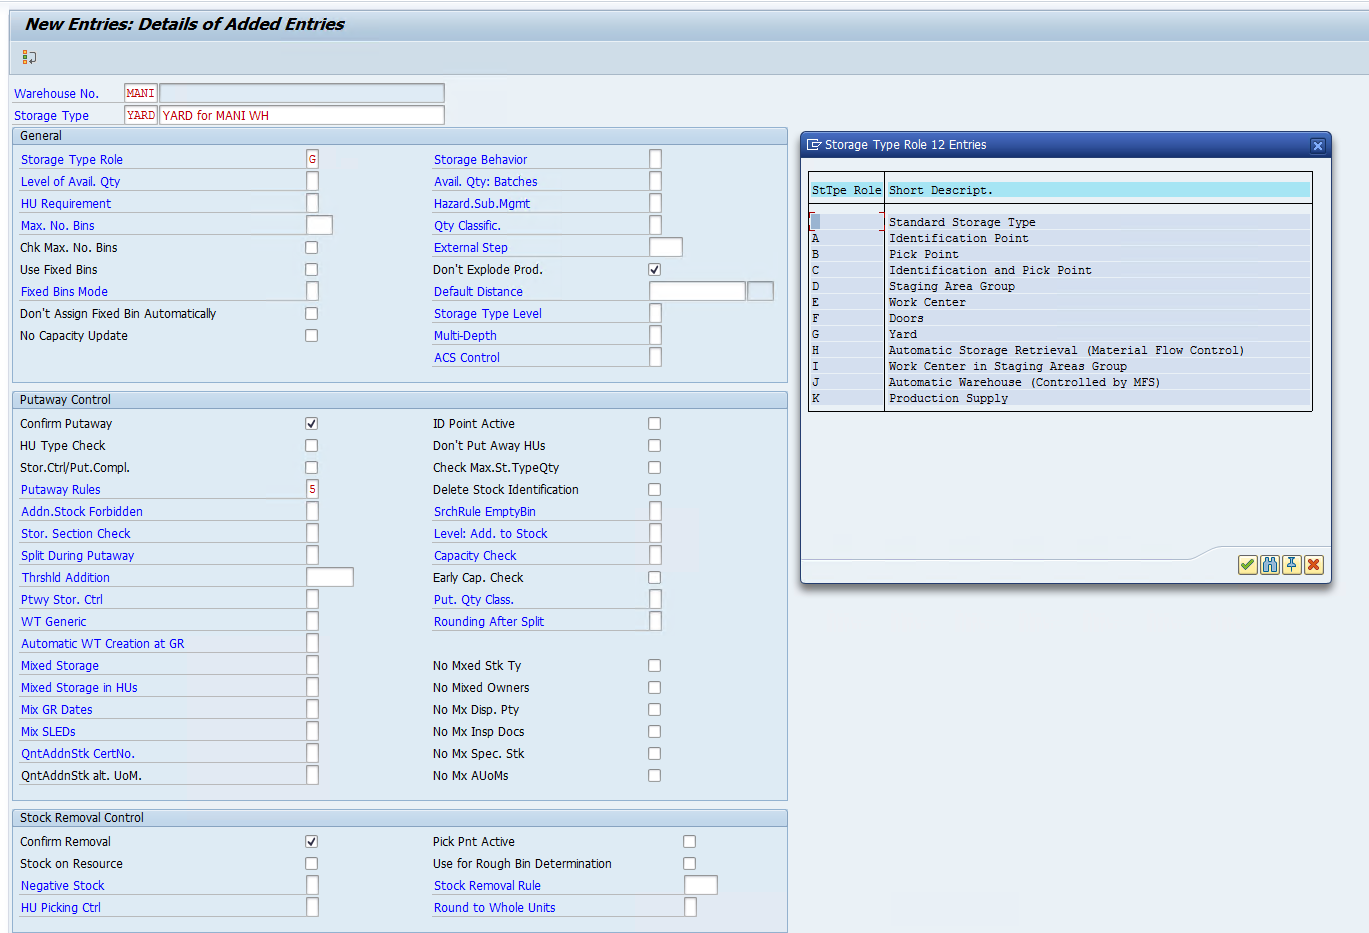
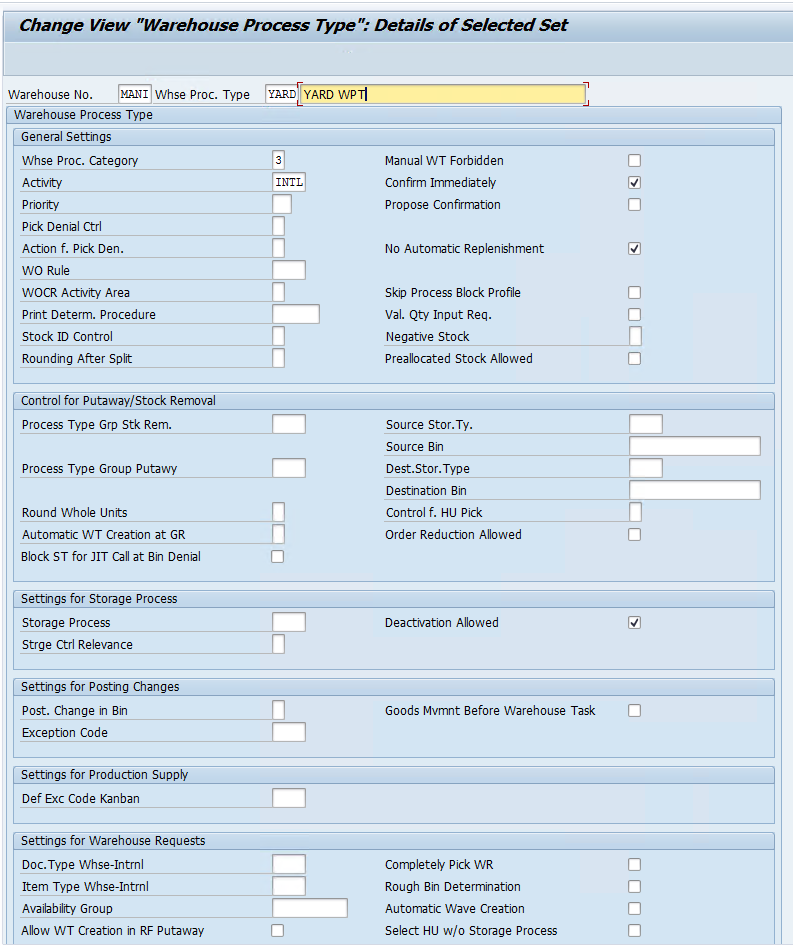
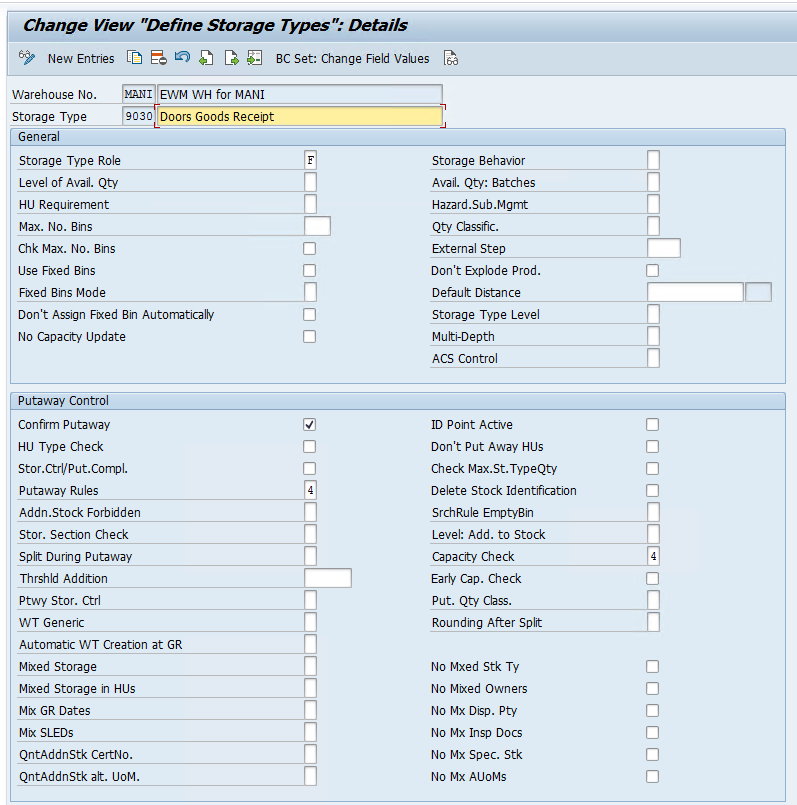
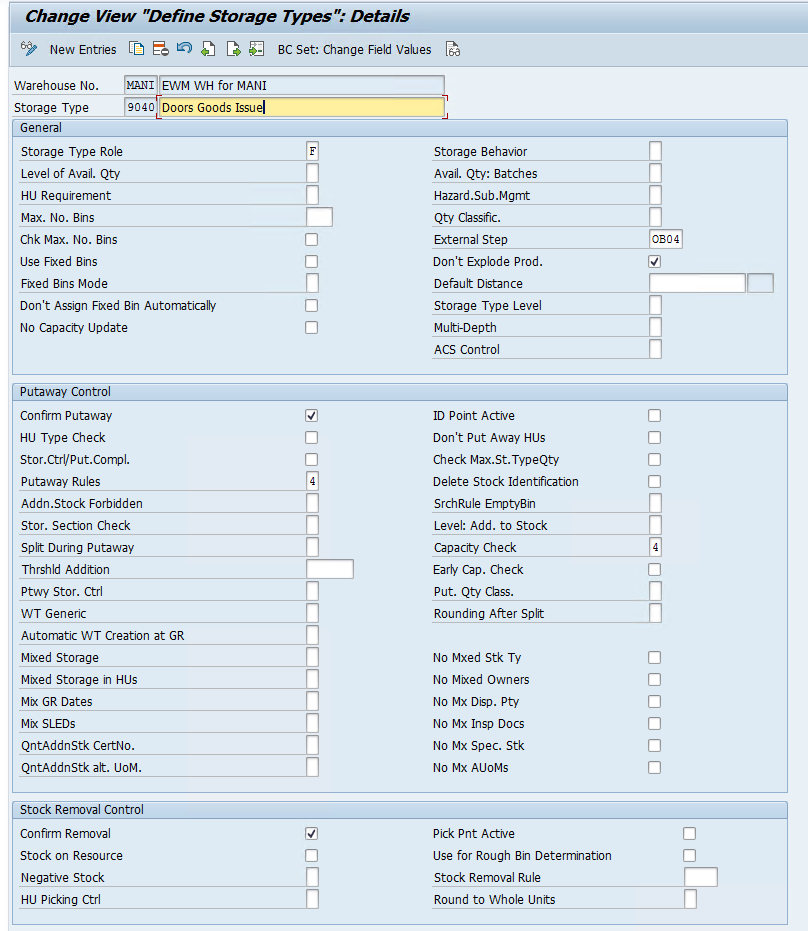
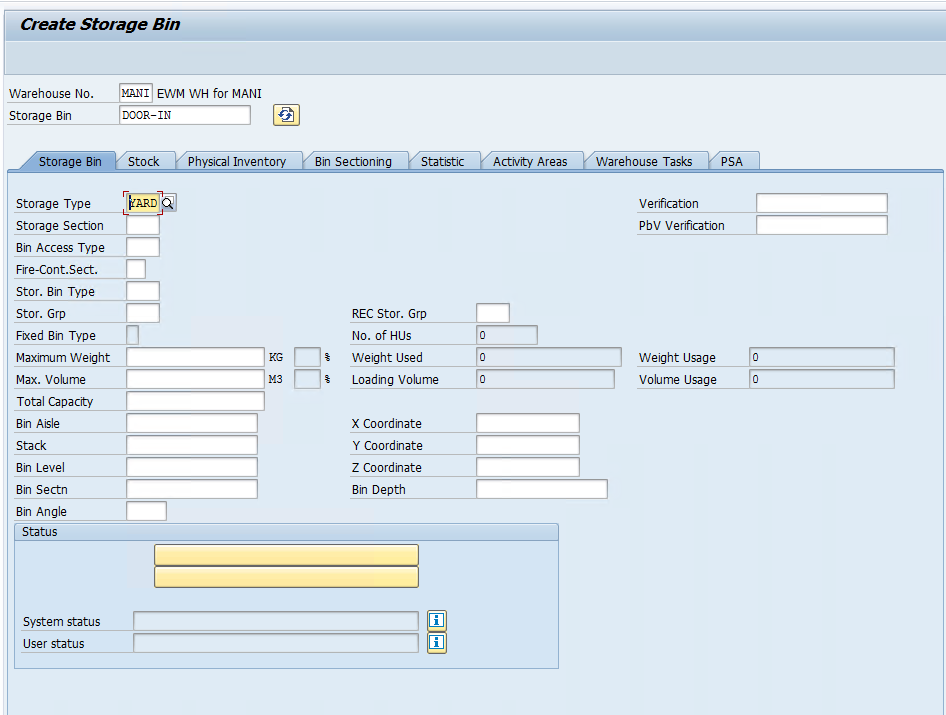
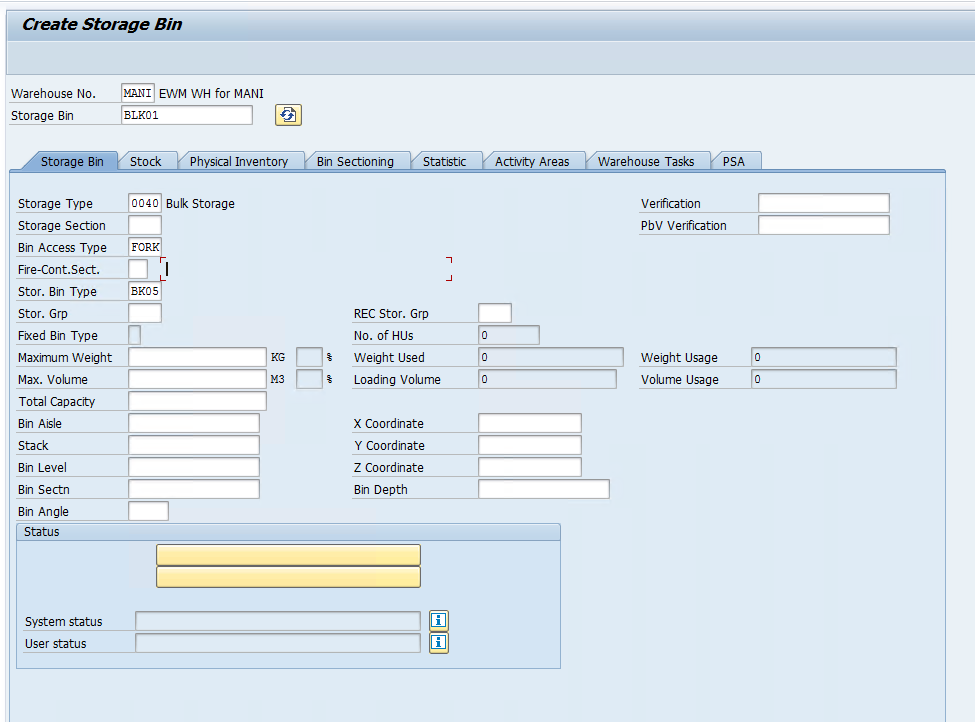
Step 1: First of all we need to create a Storage Type as Bulk Storage and mark the storage behavior as 2.
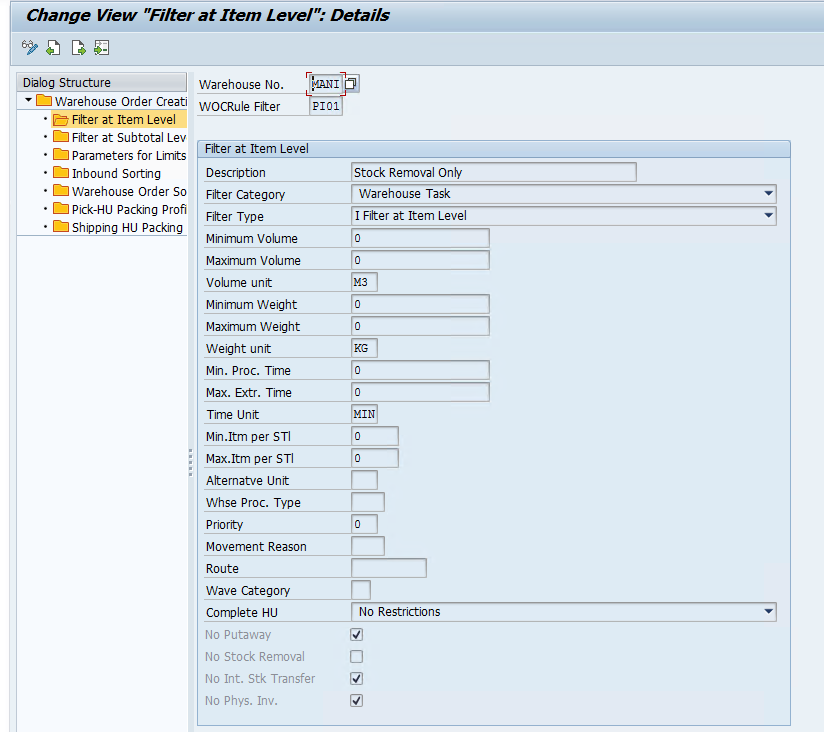
We have made the HU requirement mandatory. In the Putaway Control, the HU type check is activated and Putaway Complete icon is activated. Putaway rule is selected as 2 which means, the stock will added to the existing bins with HU inside first.

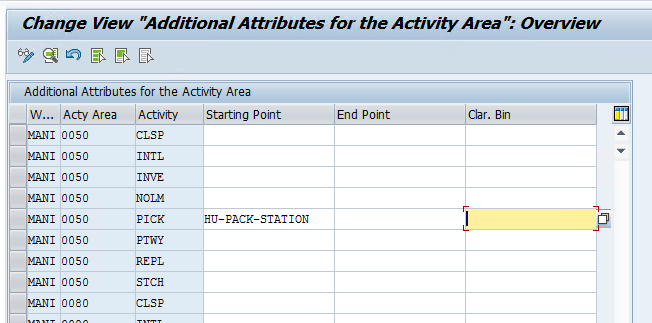
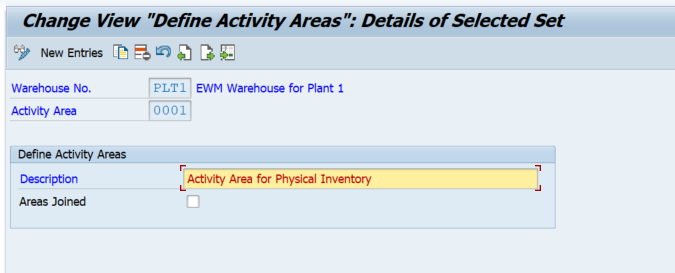
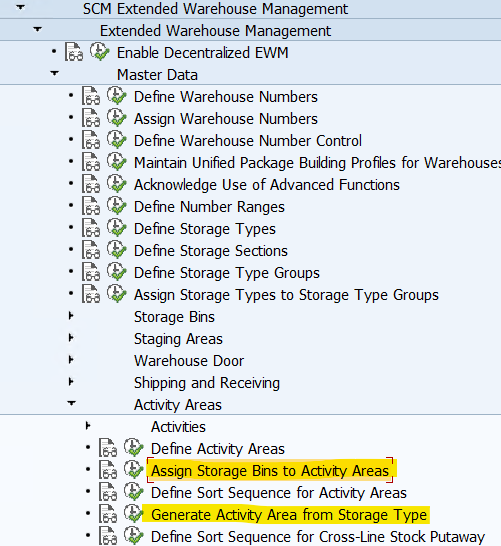
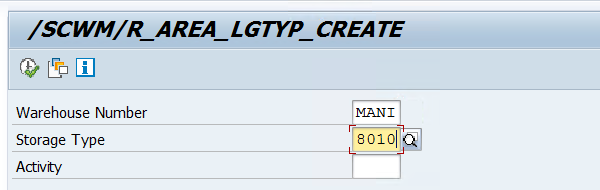
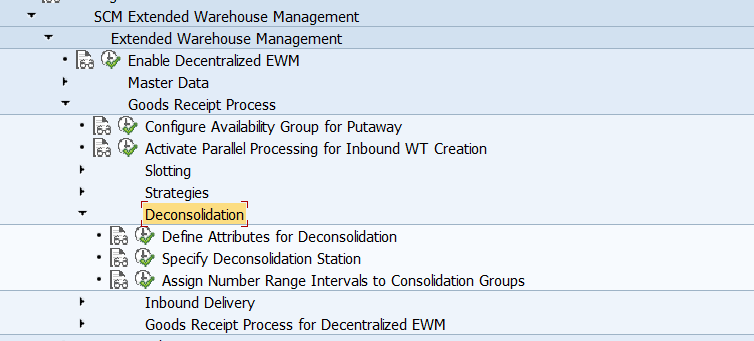
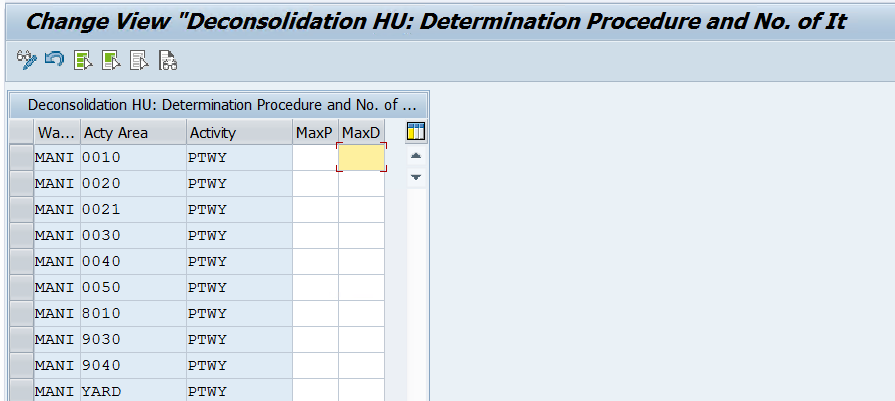
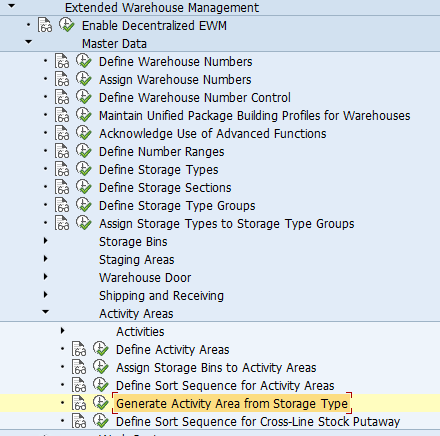
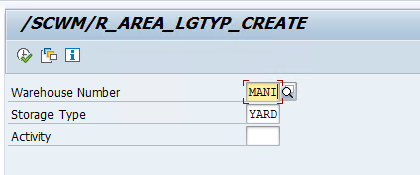
Step 2: Create activity area for our Bulk Storage

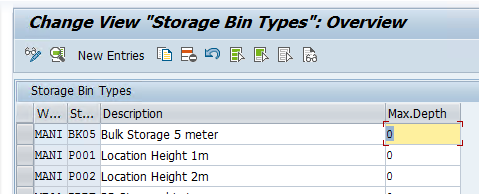
Step 3: Create Storage Bin Type for our Bulk Storage
We are creating SBT BK05 which is only to be used in Bulk Storage Area and since our forklift can reach up to 5 meter, the SBT will be of 5 meter
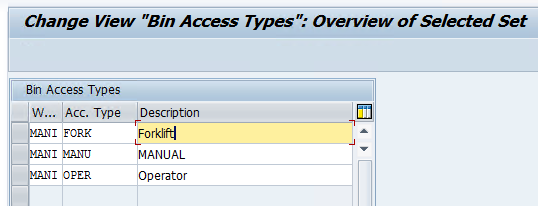
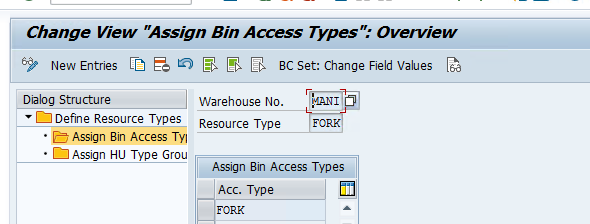
Step 4: Define a Bin Access Type for Bulk Storage Area so that we can assign to our resource when Putaway will be done — This is not a mandatory step.
We created FORK Access type and it will assigned to the Storage Bins as well so that Bulk Storage bins can only be accessed by forklift.
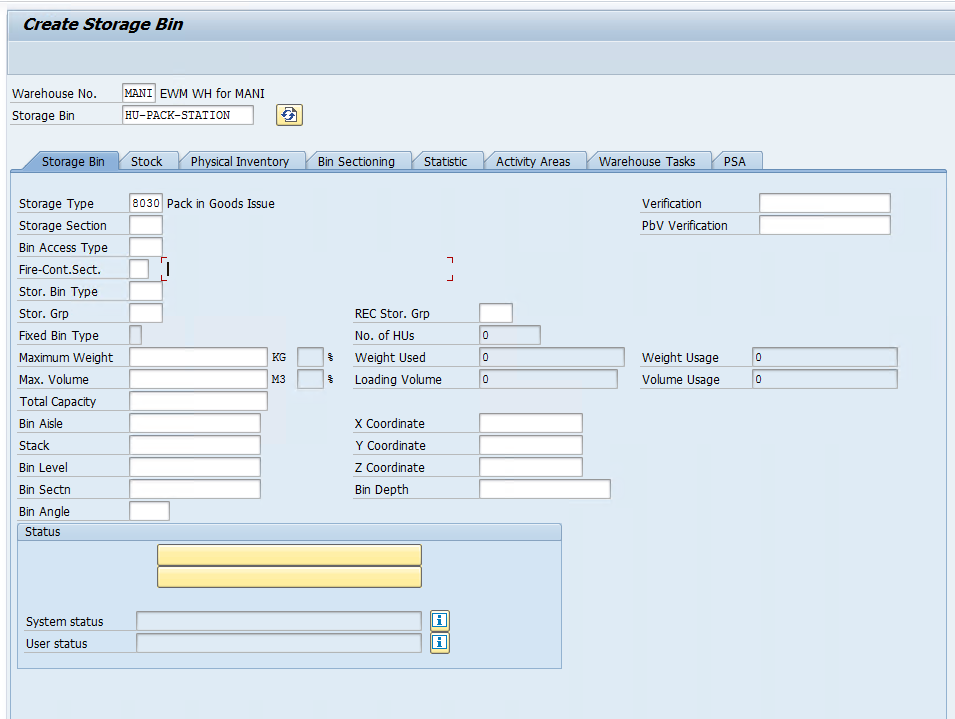
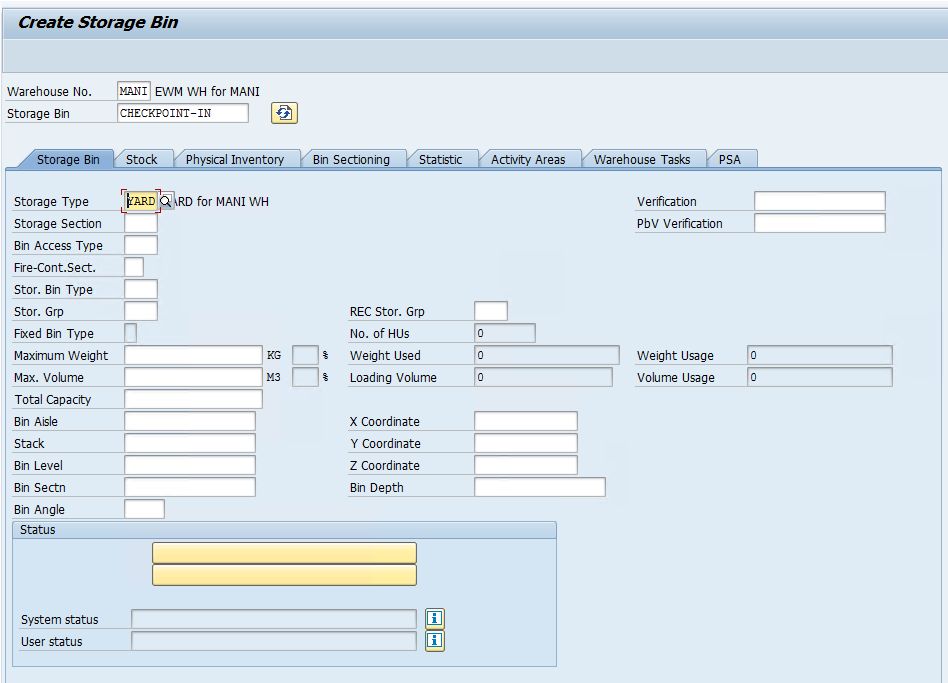
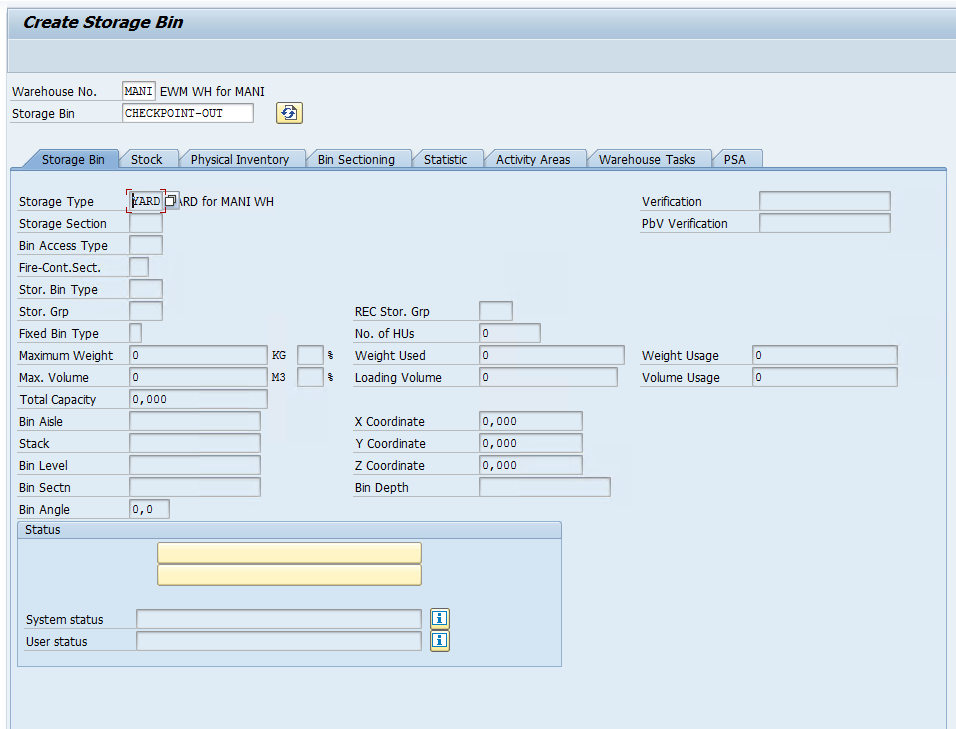
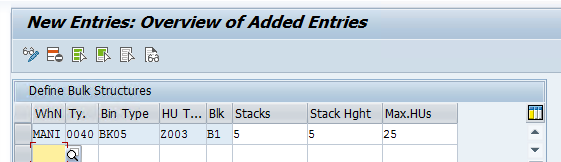
Step 5: Since our Bulk Storage is a small area in our warehouse we will have 5 bins based on below Layout and Pallets will Stacked in these 5 Bins.
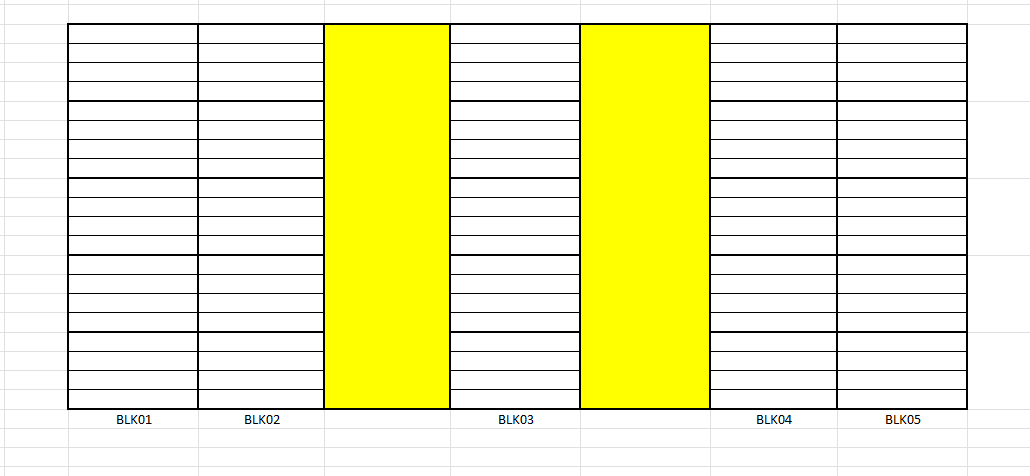
We can create 5 bins manually and each bin will be able to keep 5X5 i.e 25 pallets at a time.
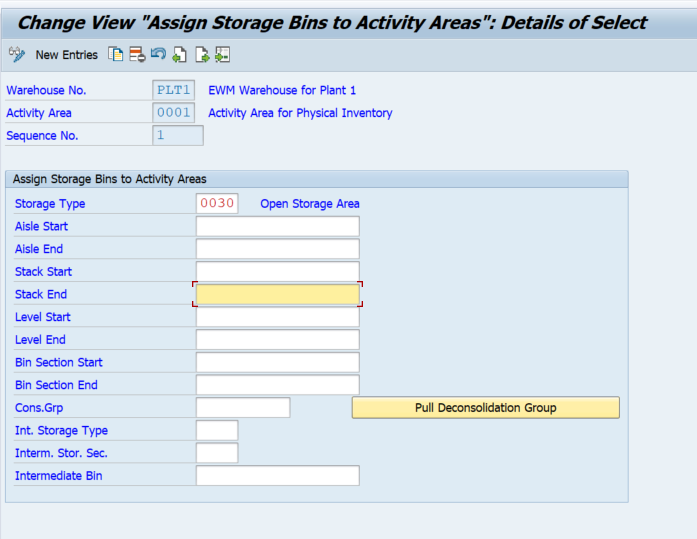
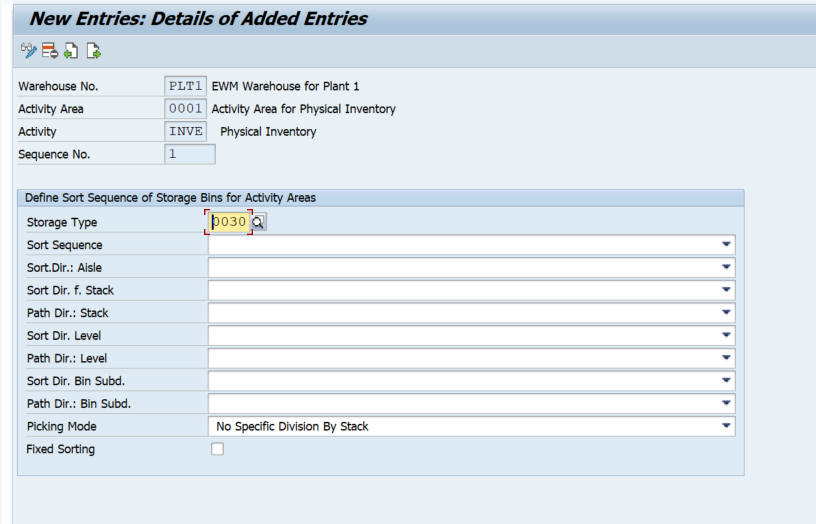
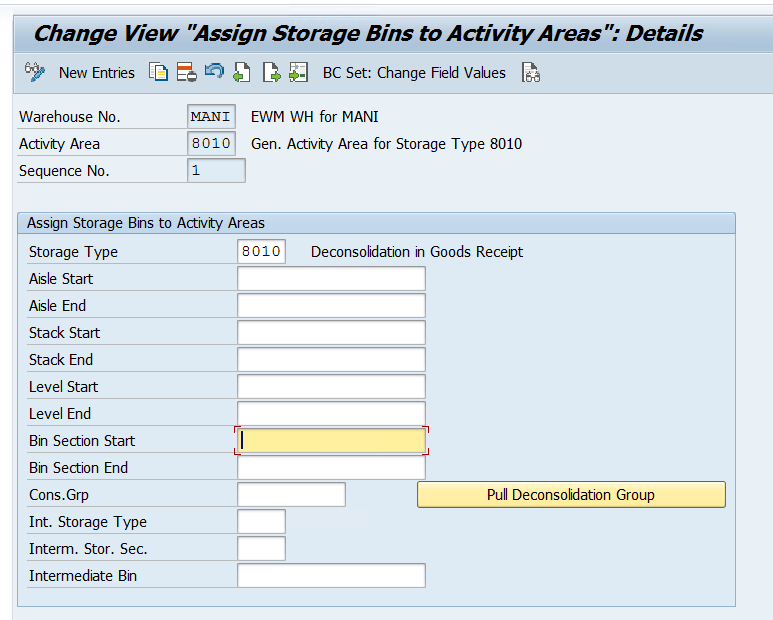
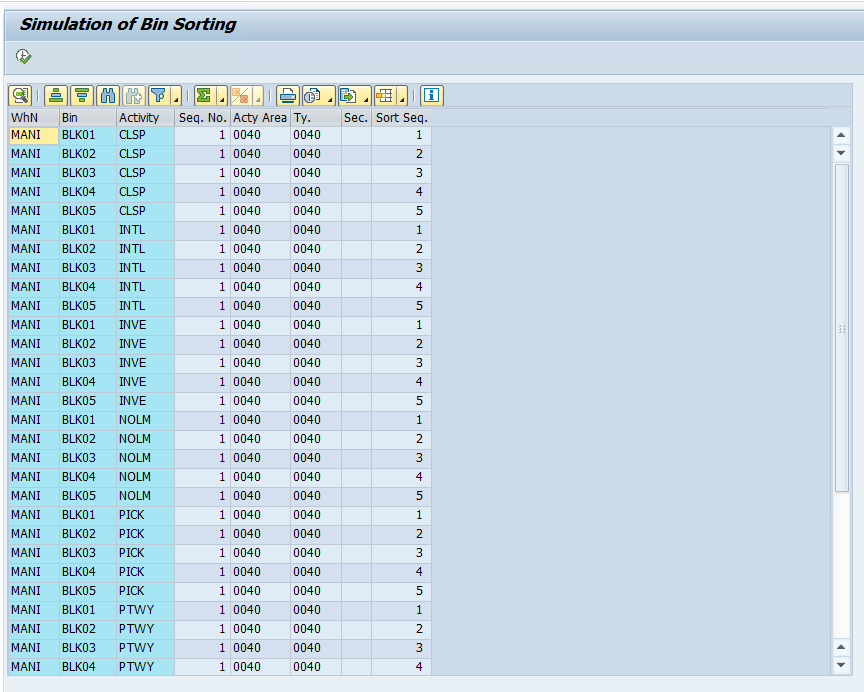
Step 6: Assign Bins to the Activity area and assign sort sequence
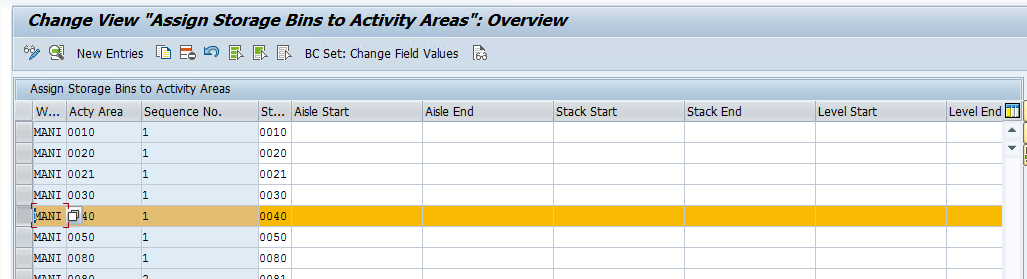
Tcode : /SCWM/SBST
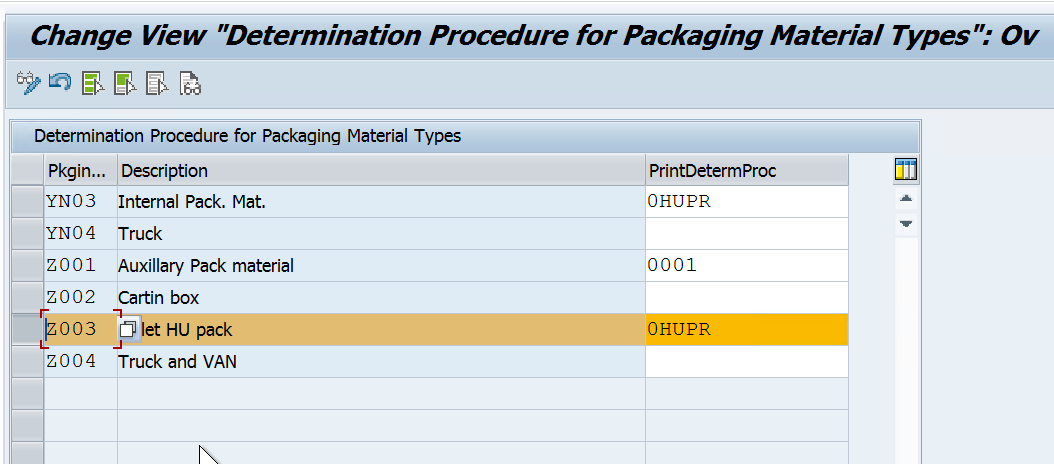
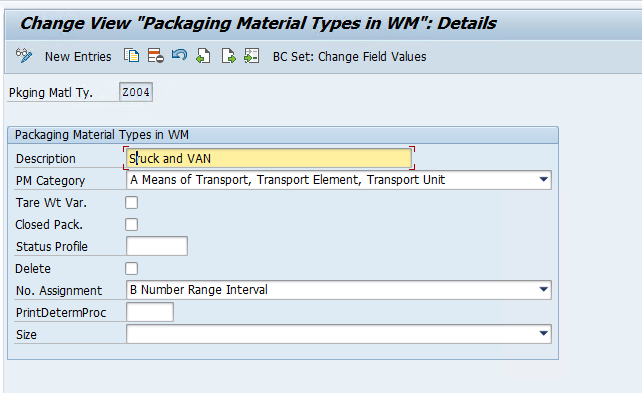
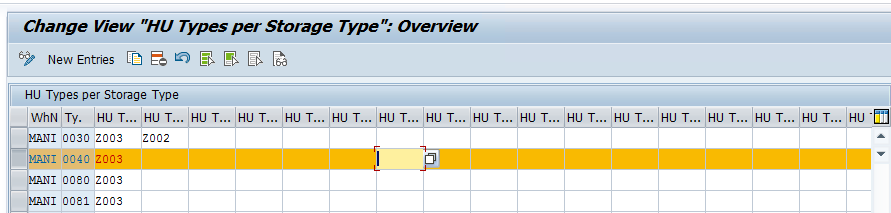
Step 7: Now we need to have a HU Type assigned to our Bulk Storage Type, make sure HU management is active in the warehouse and since we will only keep Full pallets in our bulk storage bins, we are assigning Z003 to our storage type.
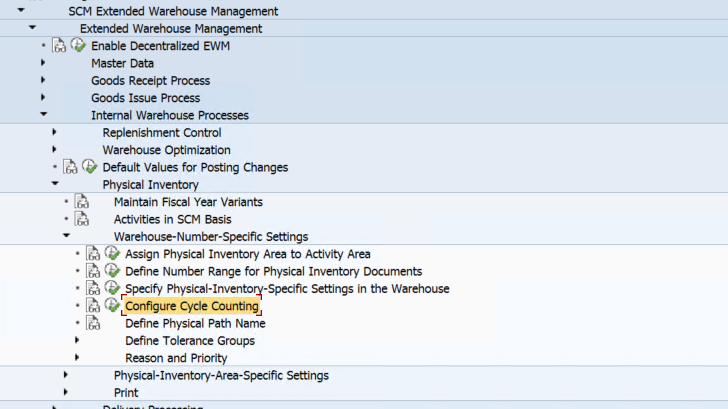
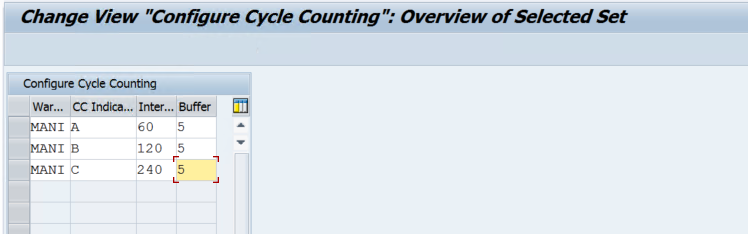
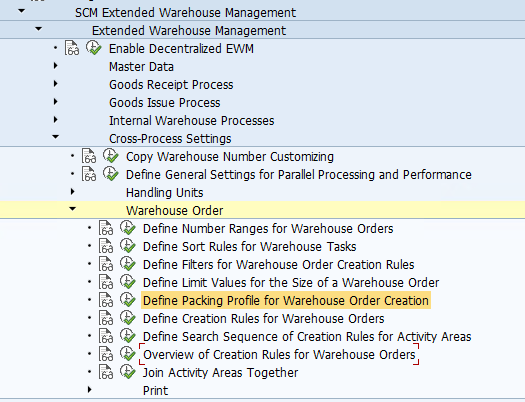
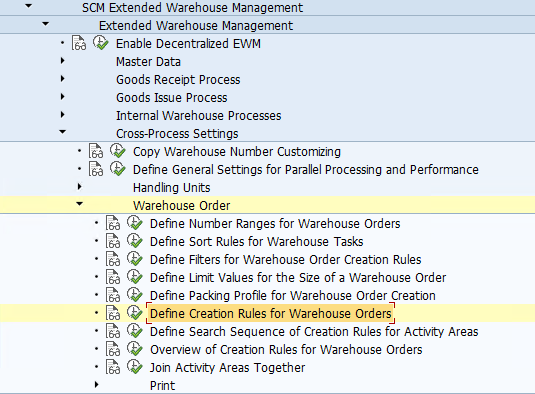
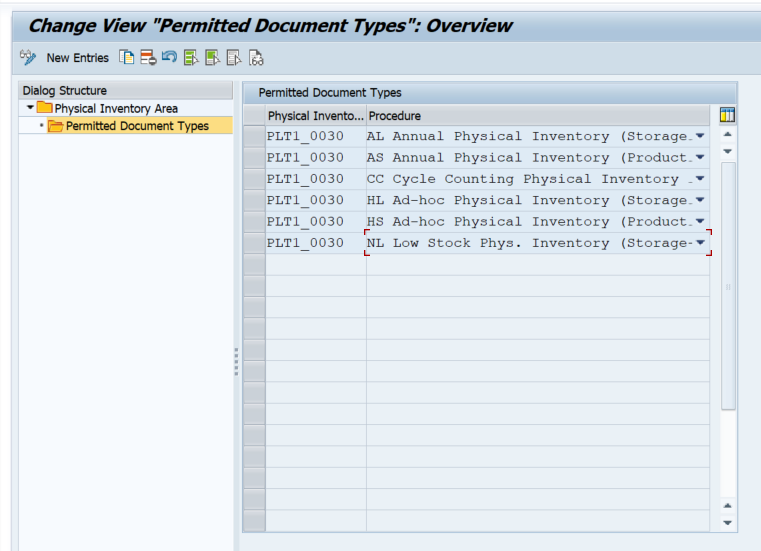
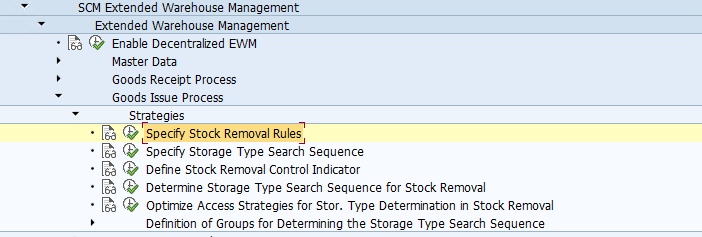
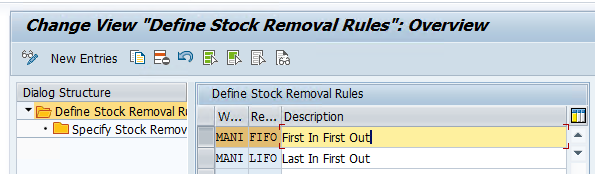
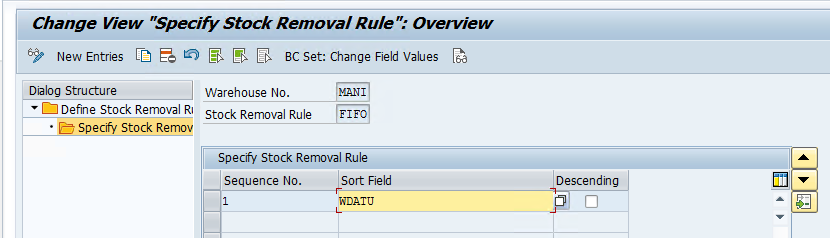
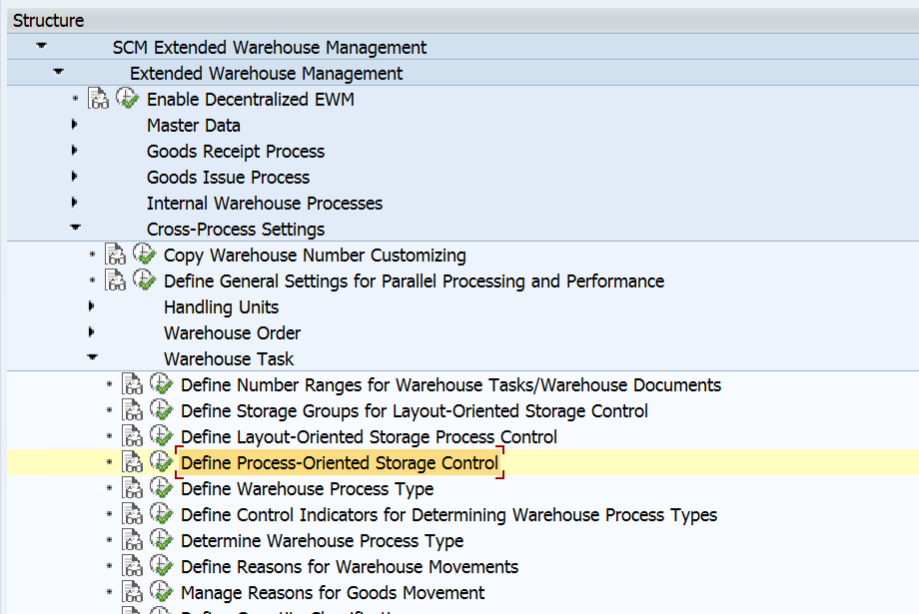
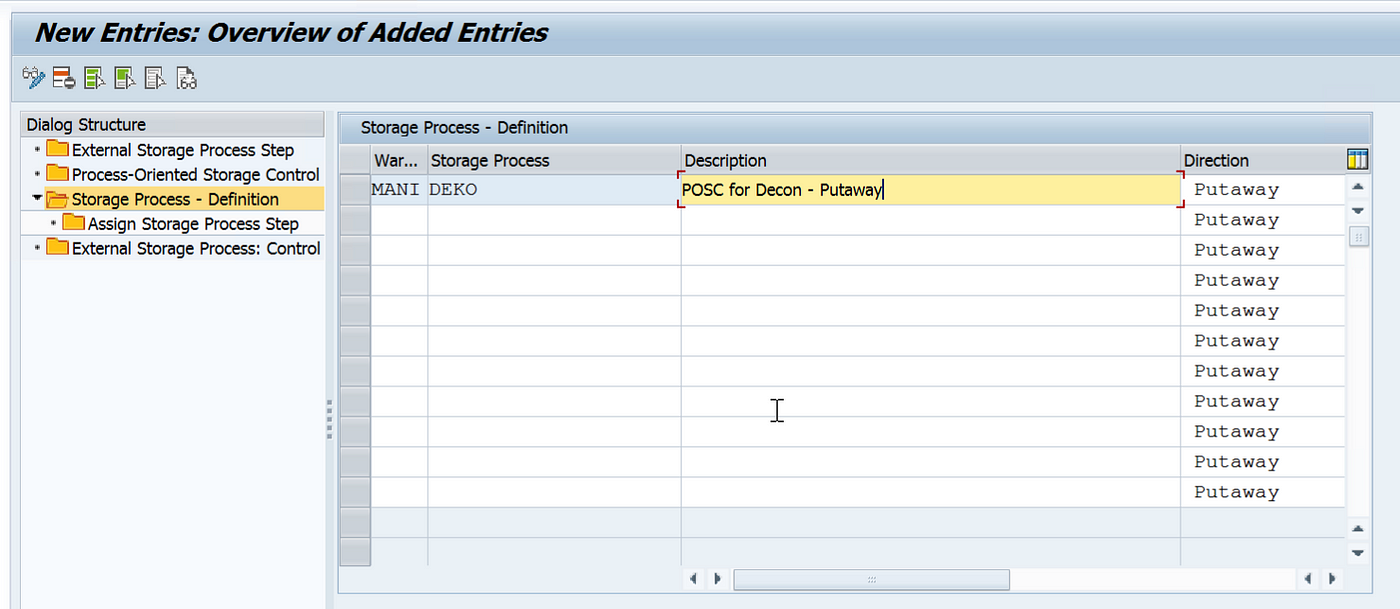
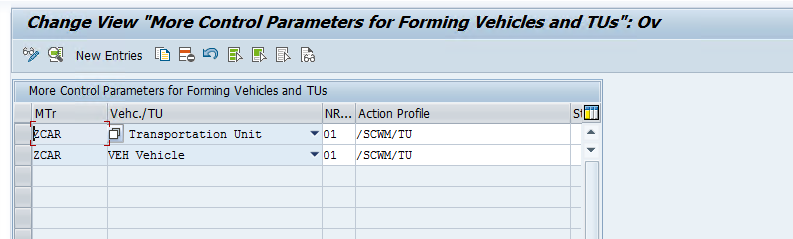
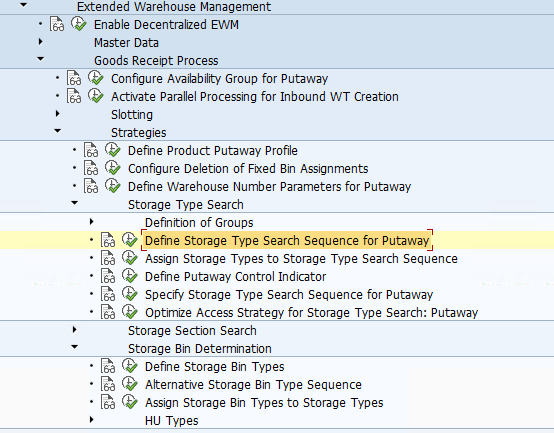
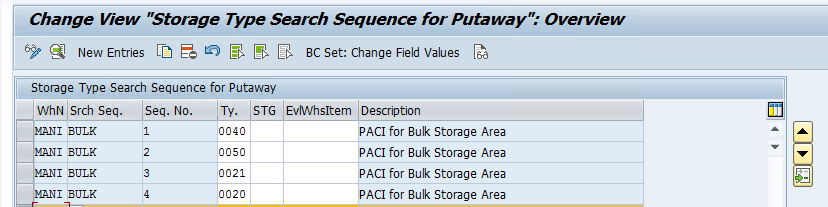
Step 8: Now we need to define Bulk storage Strategy to our warehouse and complete the configuration
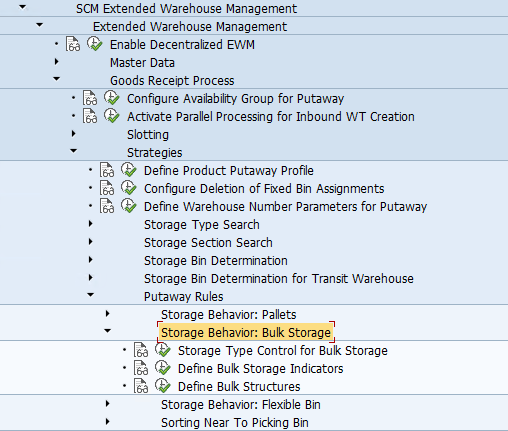
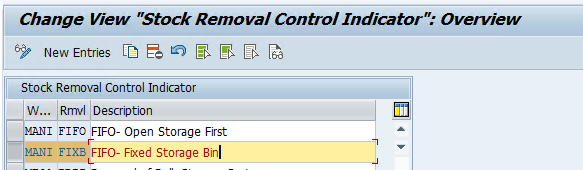
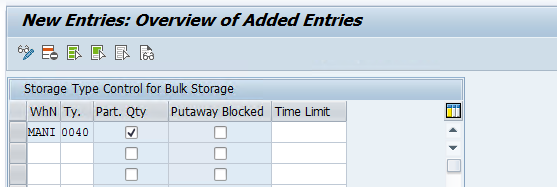
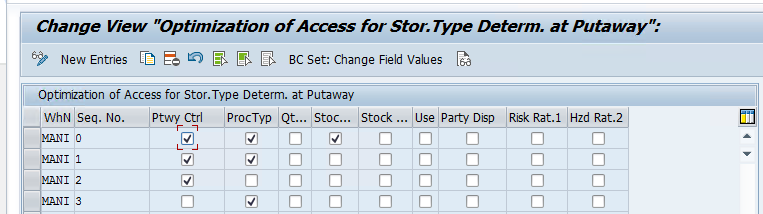
We need to maintain storage type controls for bulk storage.
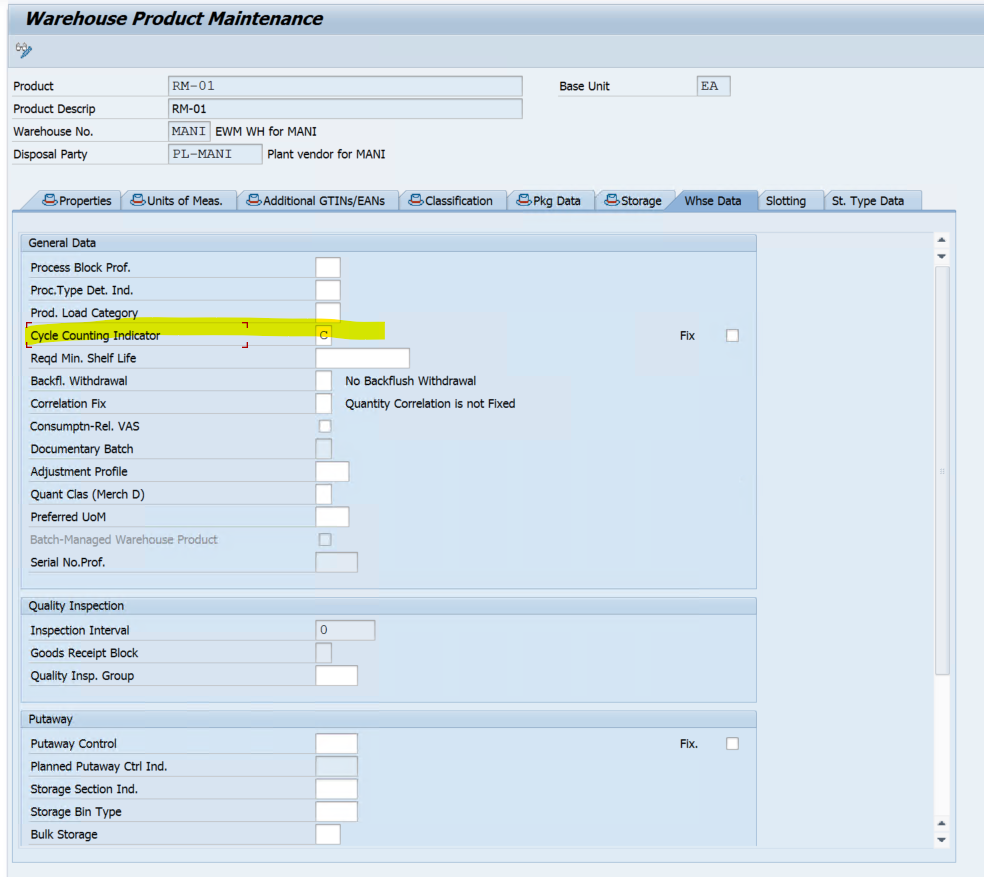
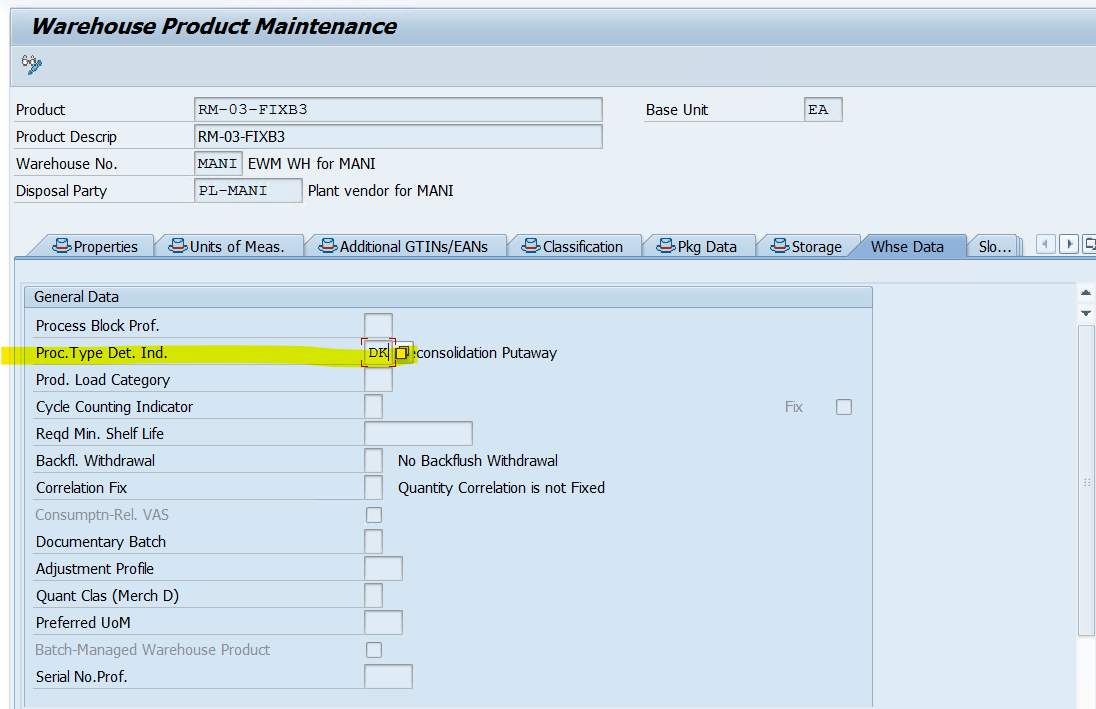
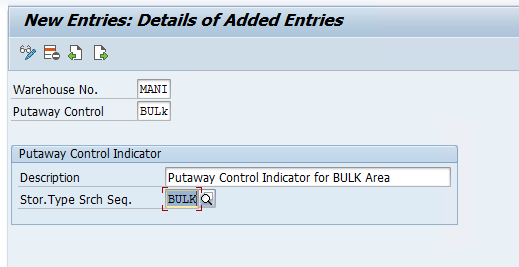
We created a bulk Storage indicator, it should be assigned to the product master.
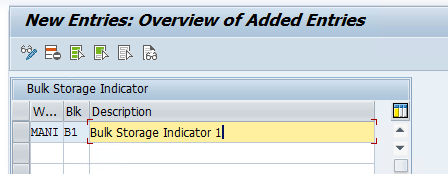
Now we need to define a bulk storage indicator and since only pallets can be stored in our bulk storage area, we have assigned Z003 HU Type as well.
Step 9: Now we need to create a resource type for our Forklift which will be used to to putaway and Pick stock from the Bulk Storage Area and only forklift can be used to manage stock in this area.

Assign Bin Access type to the resource Type.
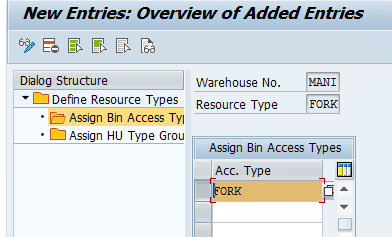
We have assigned HU Group ZMAN which was already assigned to our HU Type Z003 which belongs to the Pallet HU type.
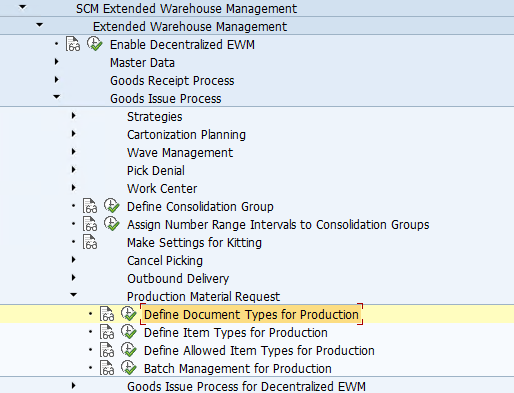
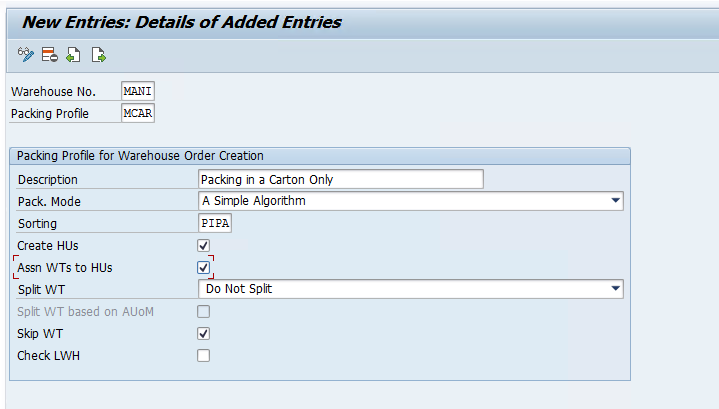
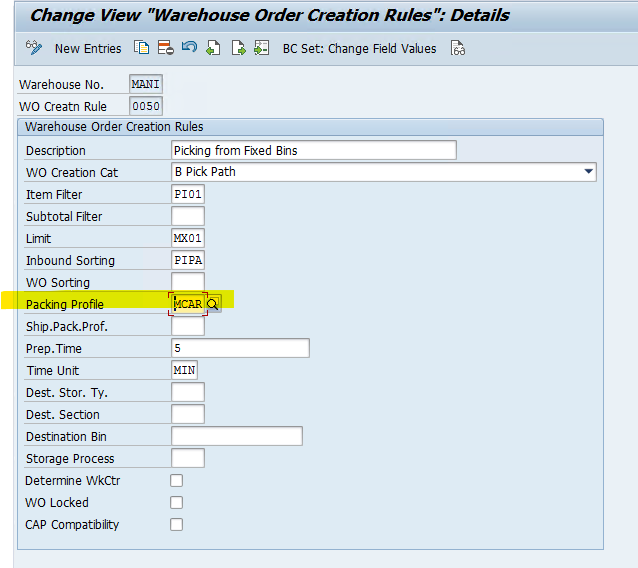
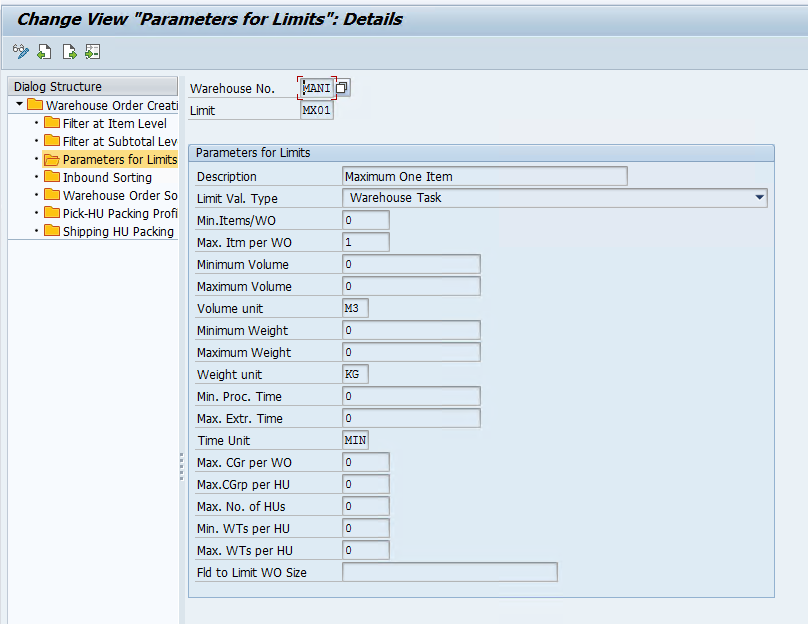
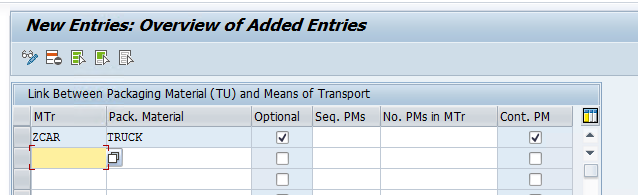
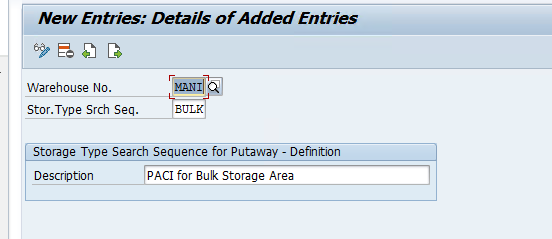
Step 10: Now we need to create a PACI for our Bulk Storage and since we are only going to putaway full pallets in the bulk Storage, if there is any stock left without pallet, it will go other storage type.

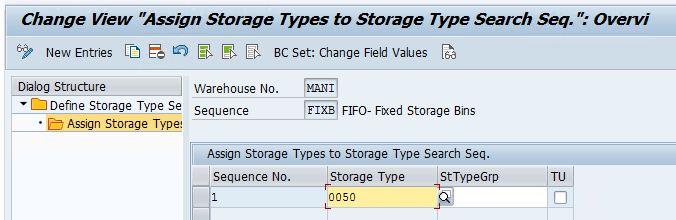
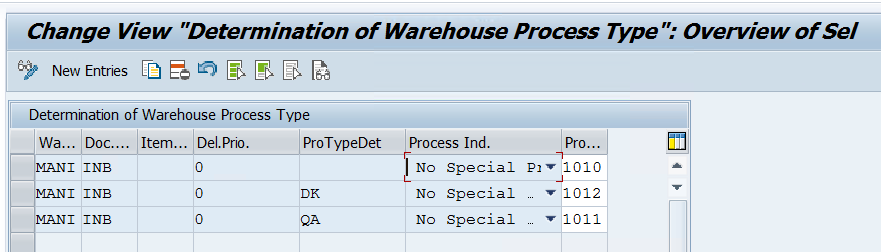
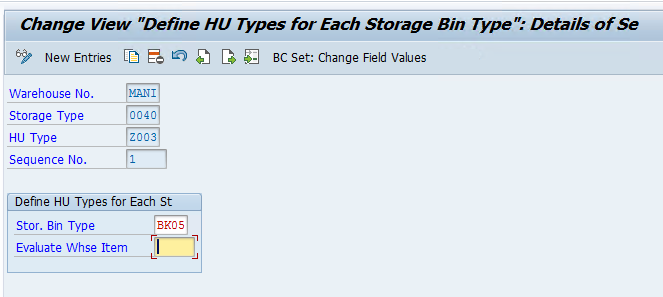
Step 11: Assign SBT to the Storage type for Storage bin determination during Putaway.
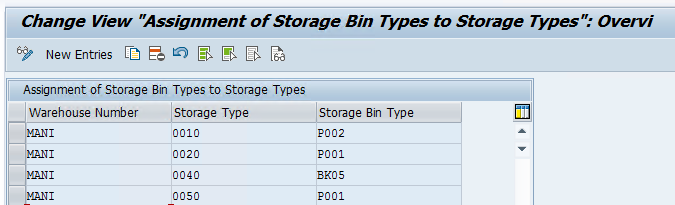
Now assign HU type to the SBT
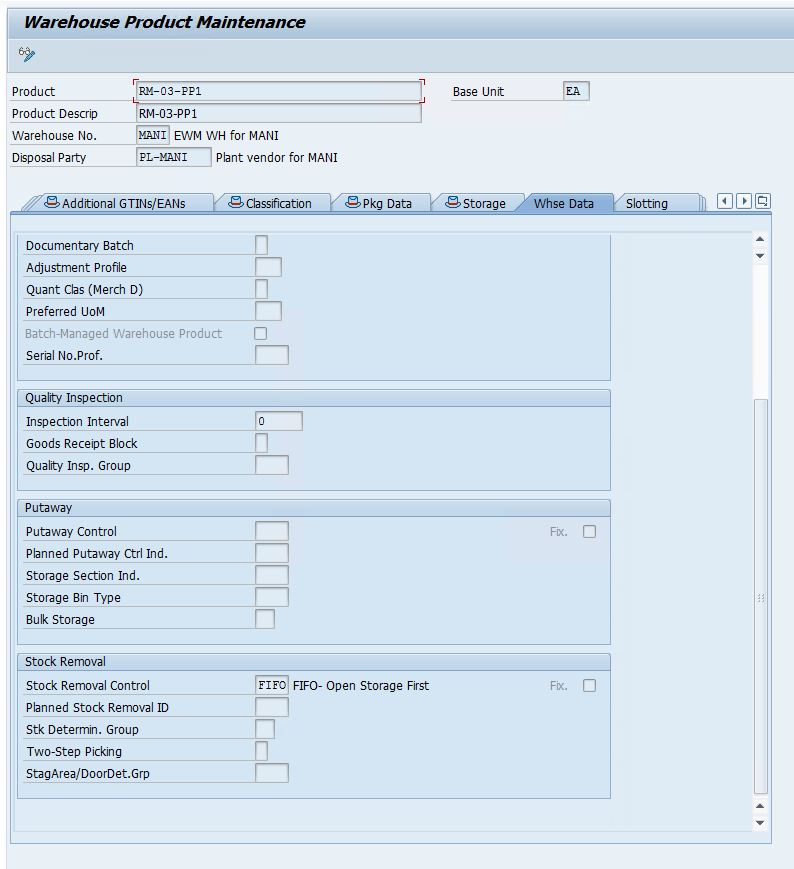
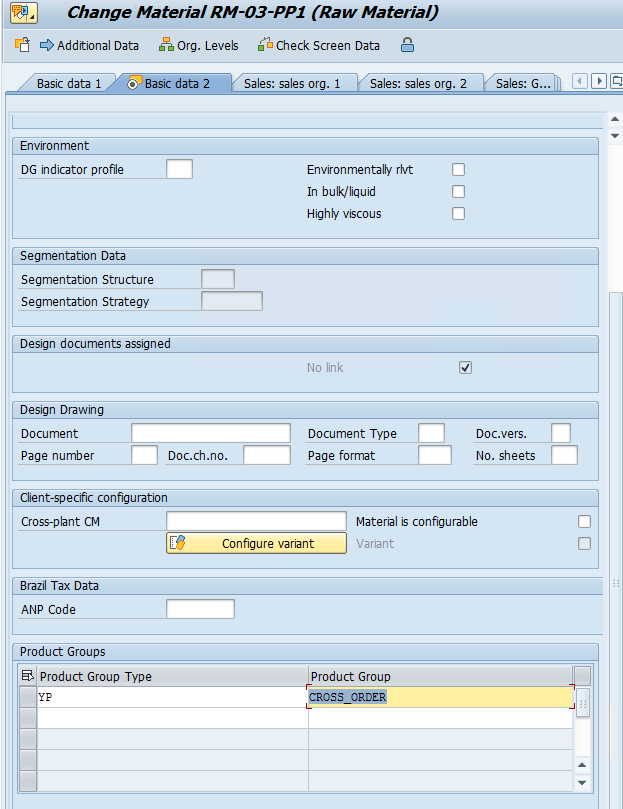
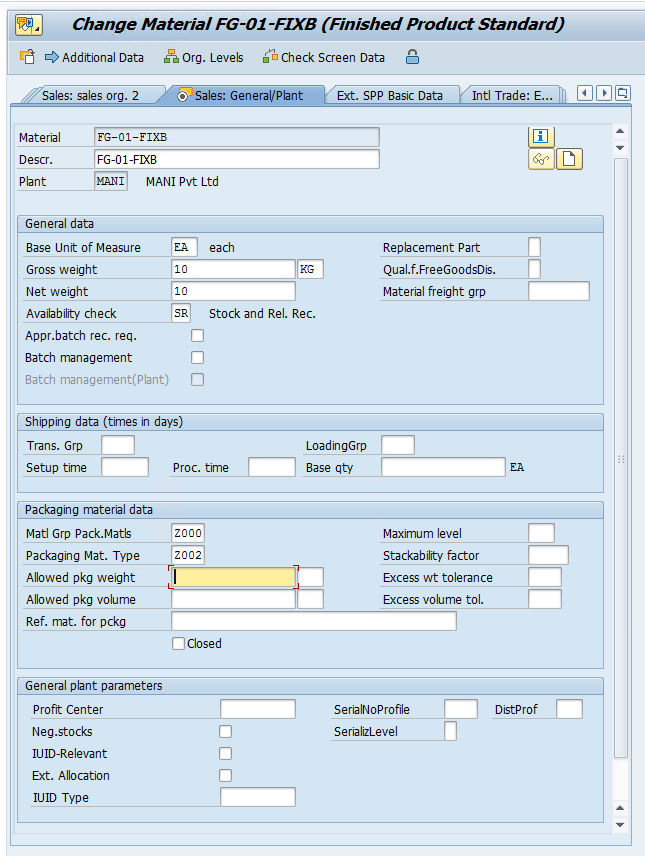
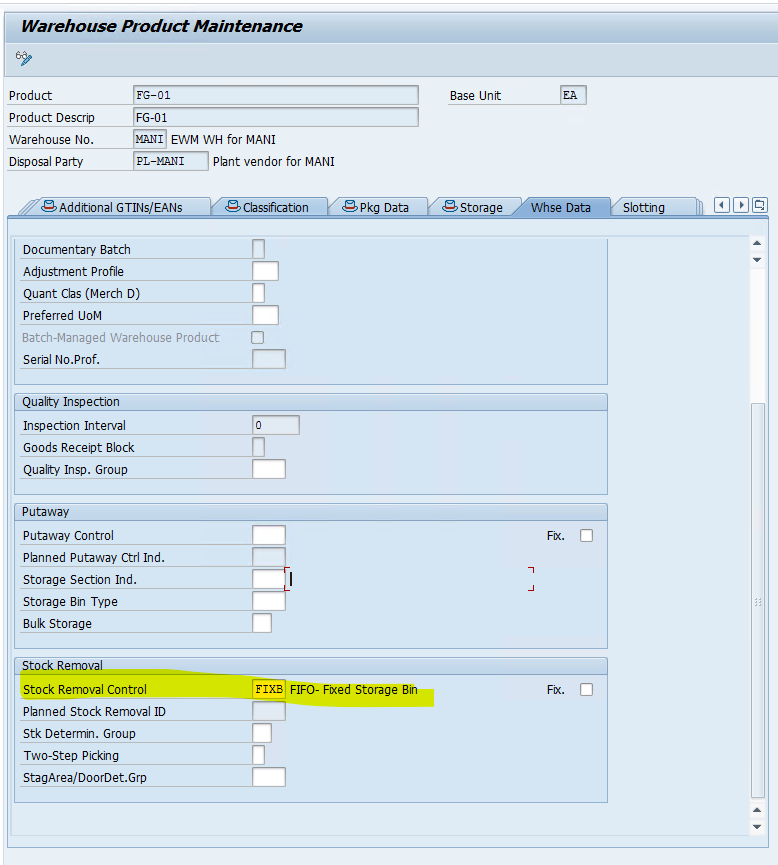
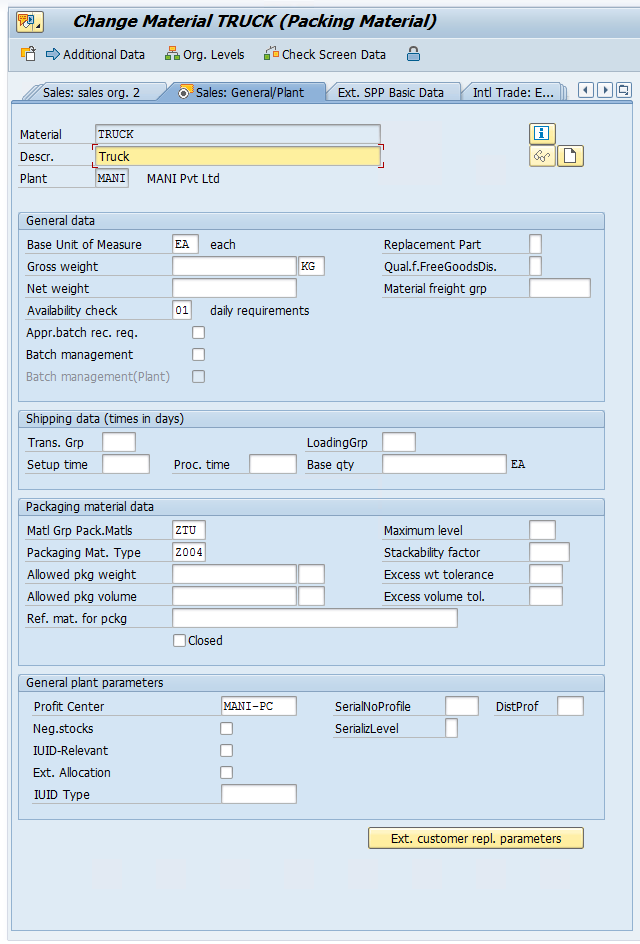
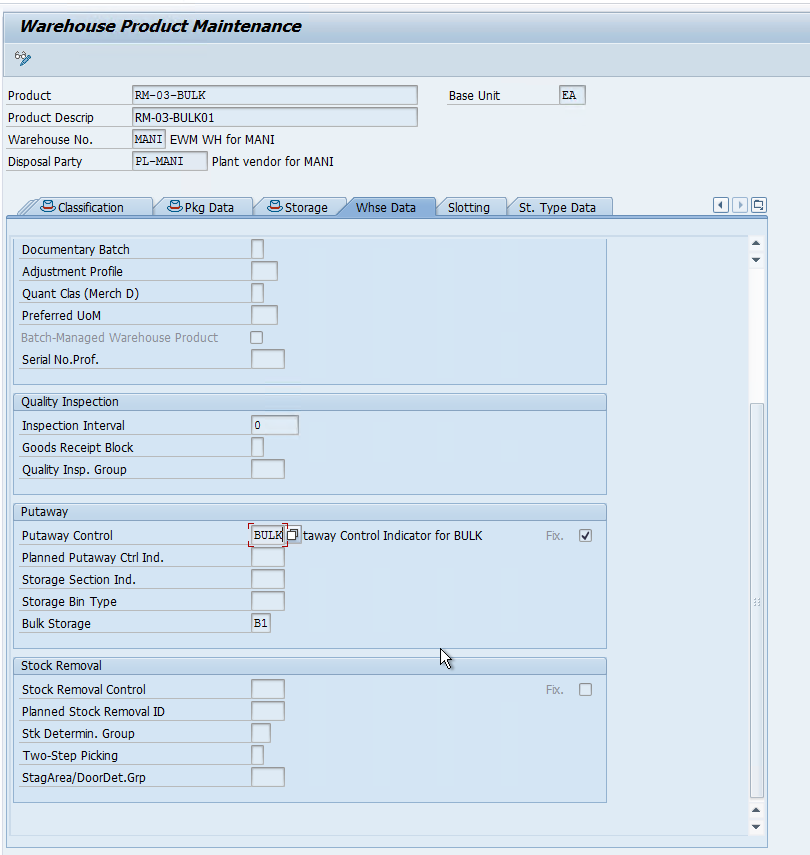
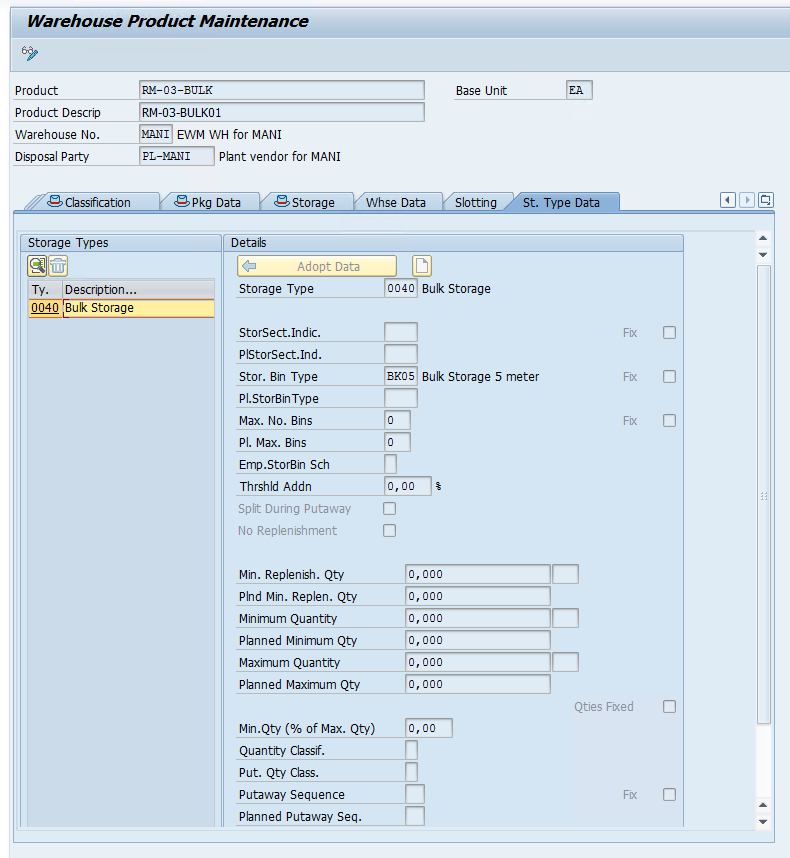
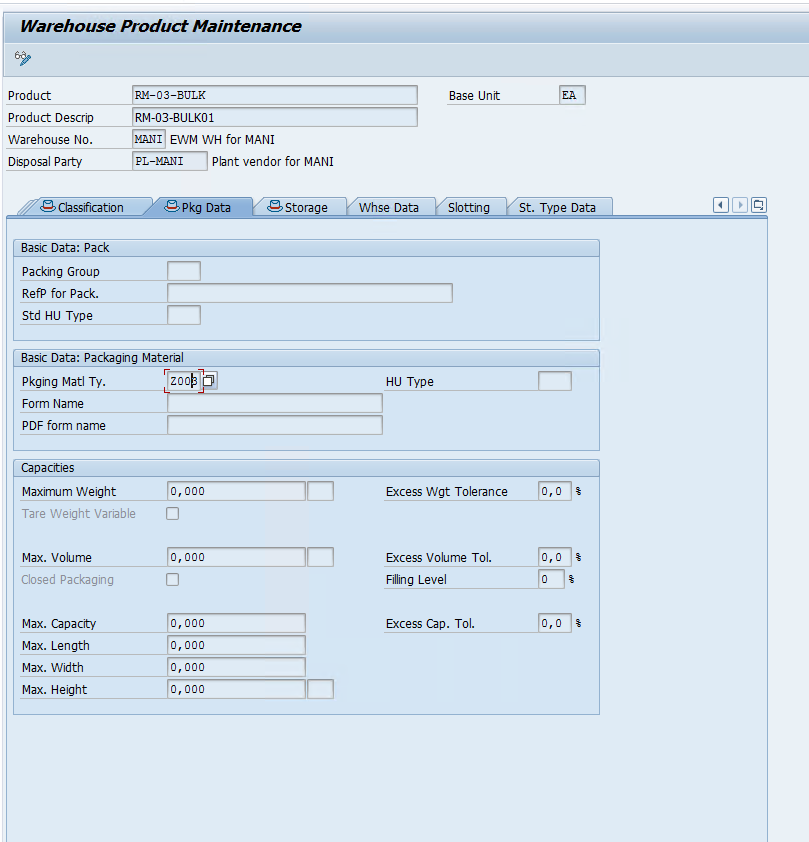
Step 12: We need to maintain Product master data.
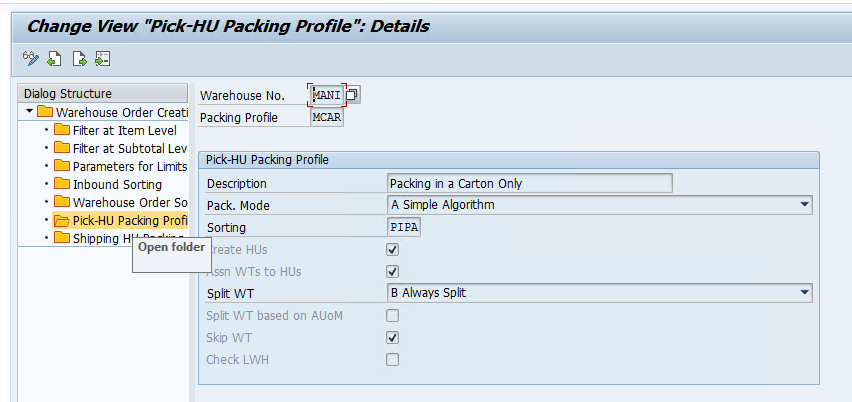
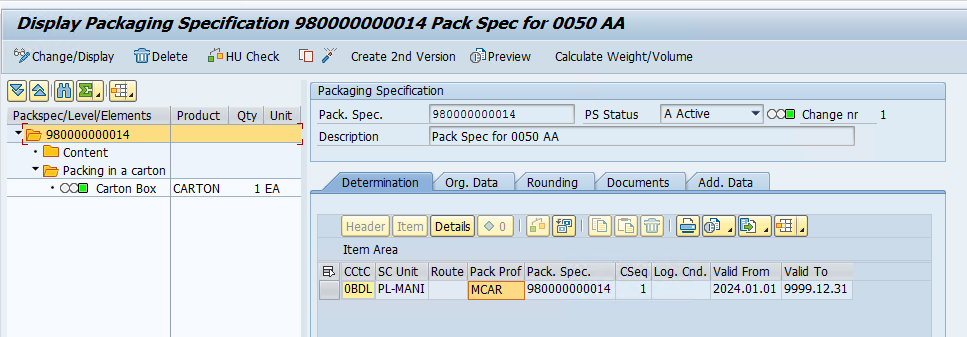
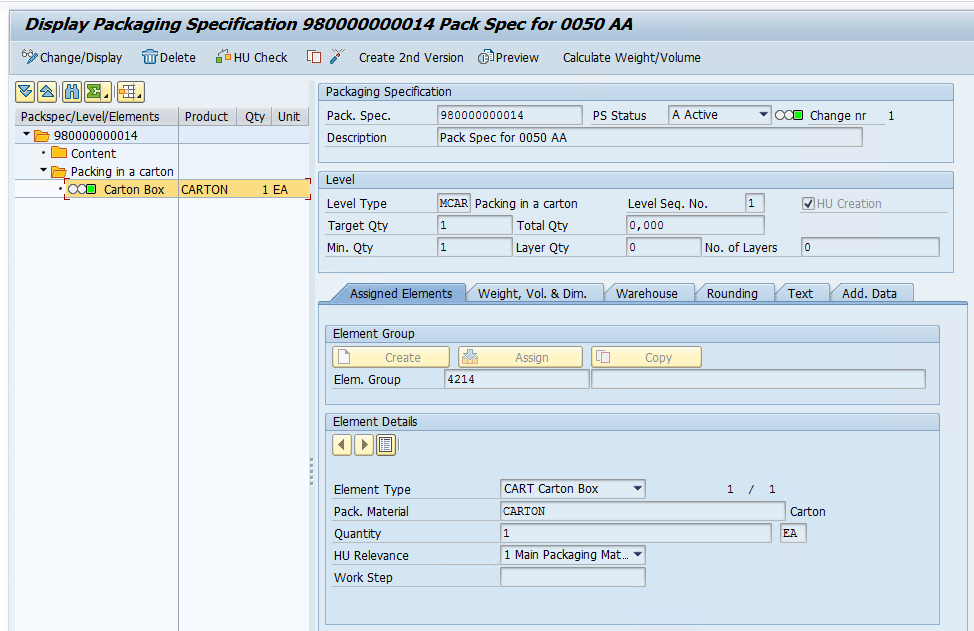
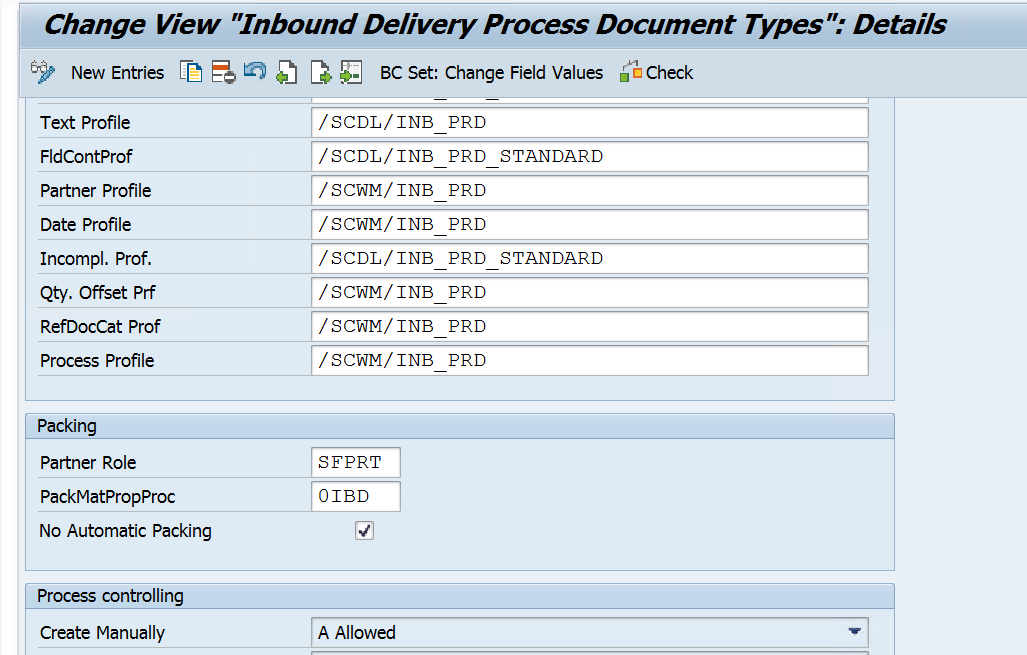
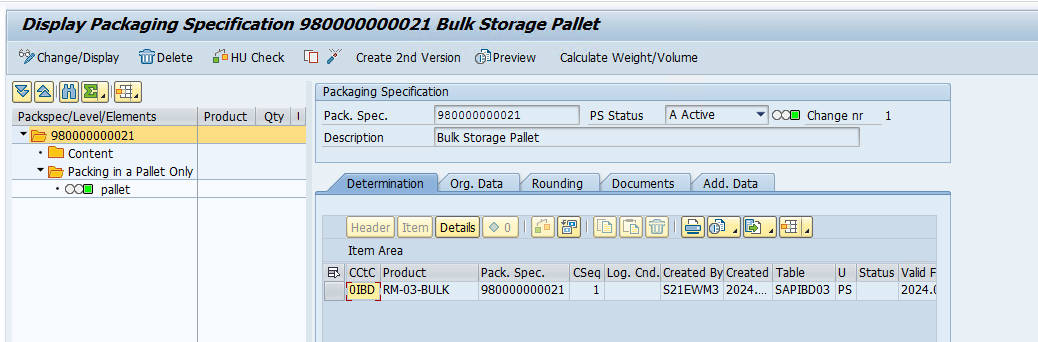
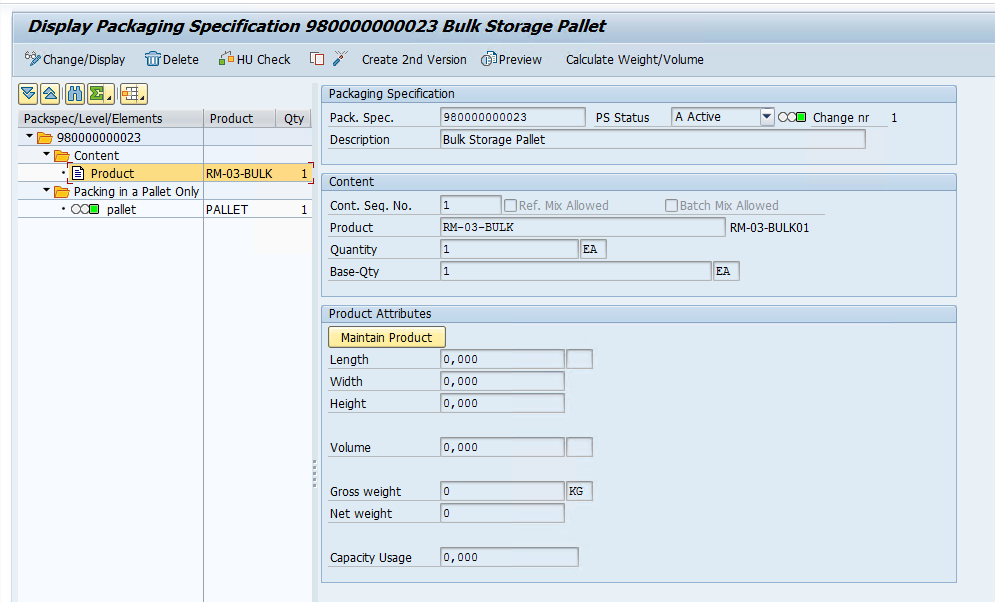
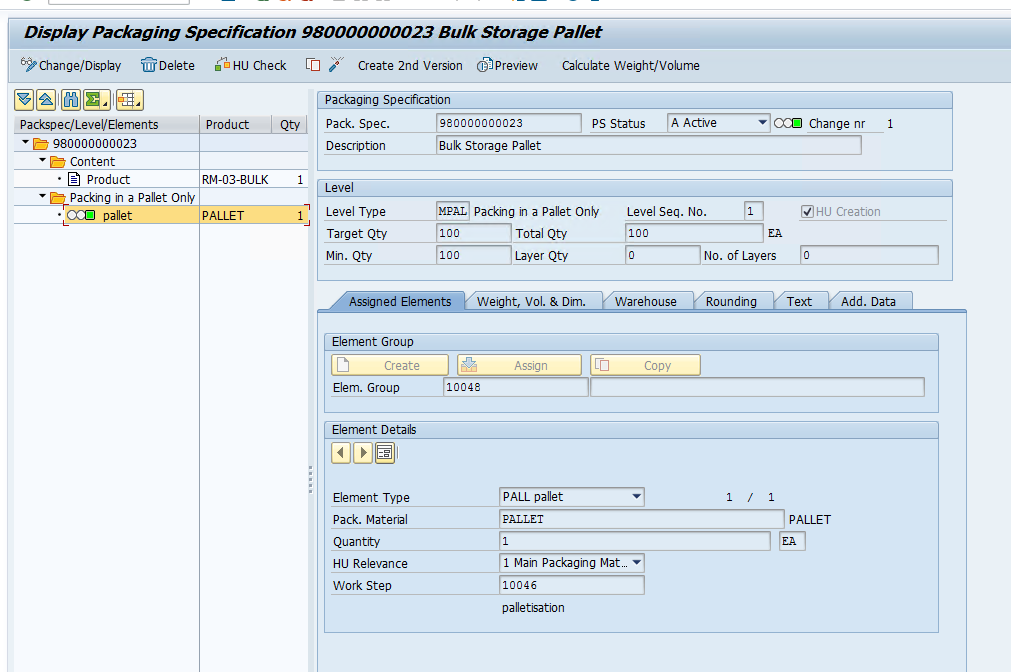
Step 13: We need to create packaging specifications for our product if we want to automate the packaging process when an inbound is created, this can be done manually also so this step is not mandatory.
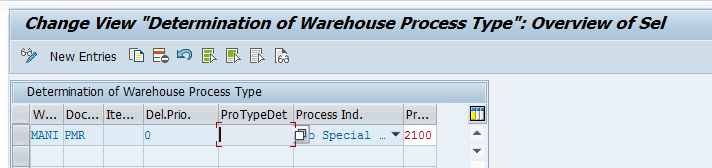
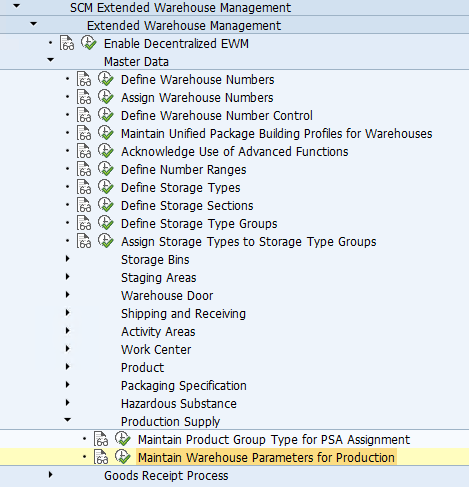
Step 14: Now we need to maintain the resource type and queue data so that we can assign the WTs to the resource Forklift and carry out the putaway process using the Forklift in the Bulk Area.
Create Resource Type

Assign Bin Access Type
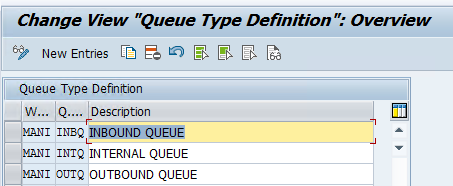
Define Queue type
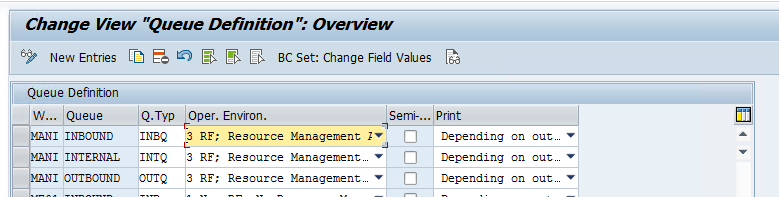
Define queue
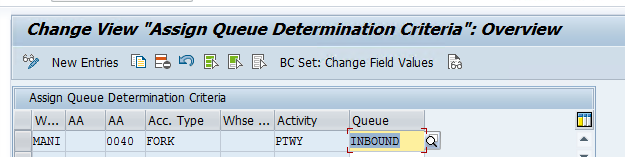
Define queue determination
Define Queue access sequence

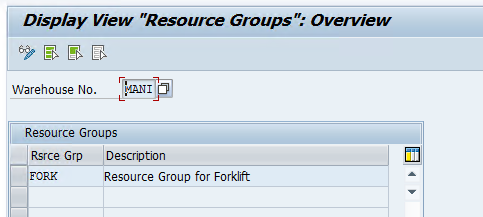
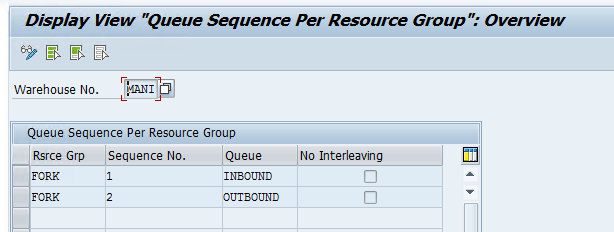
Use tcode /SCWM/RGRP to maintain resource Group
/SCWM/QSEQ to maintain queue sequence for resource Group
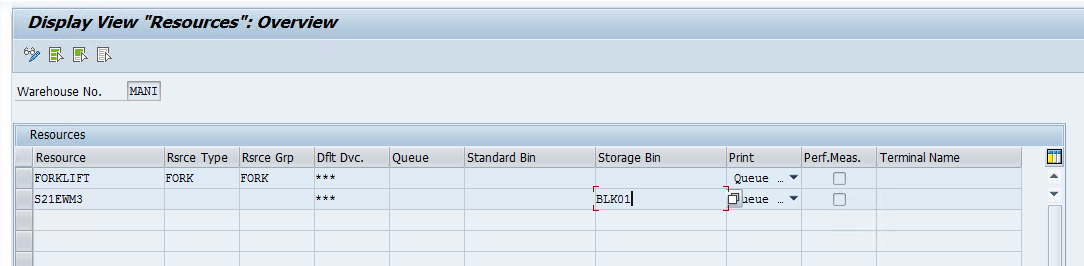
/SCWM/RSRC to maintain resource
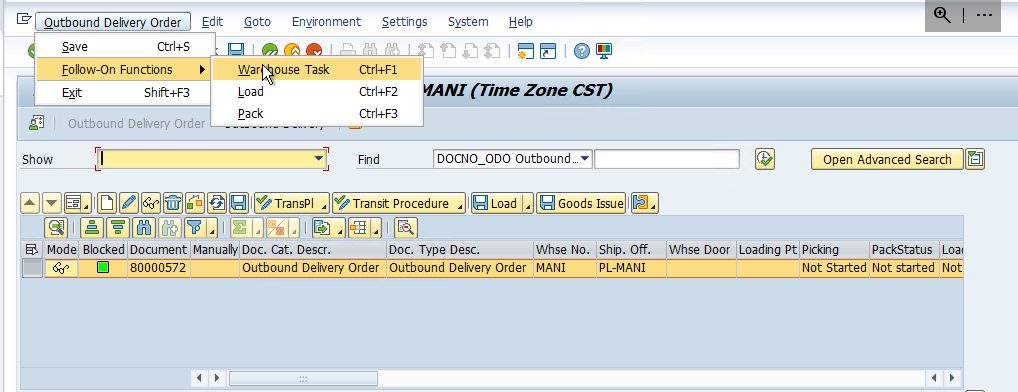
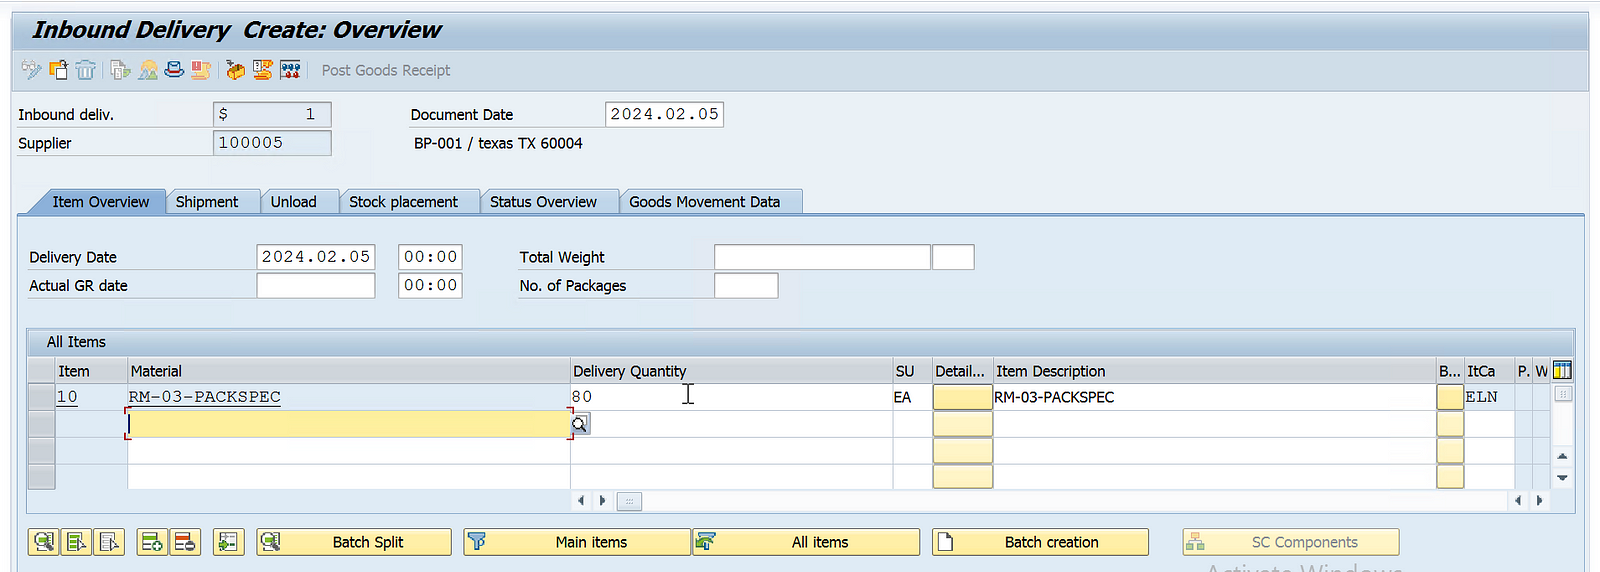
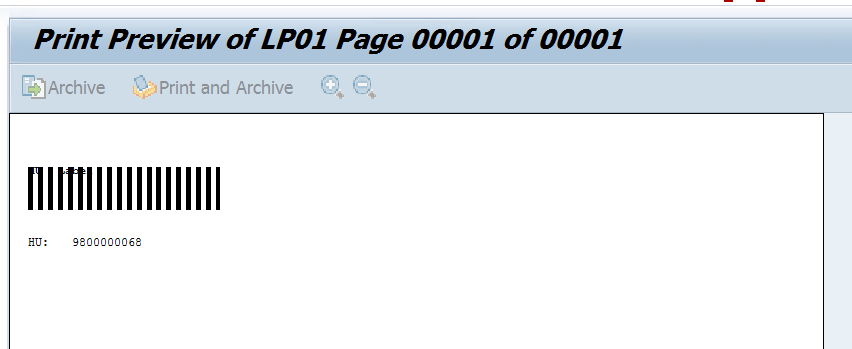
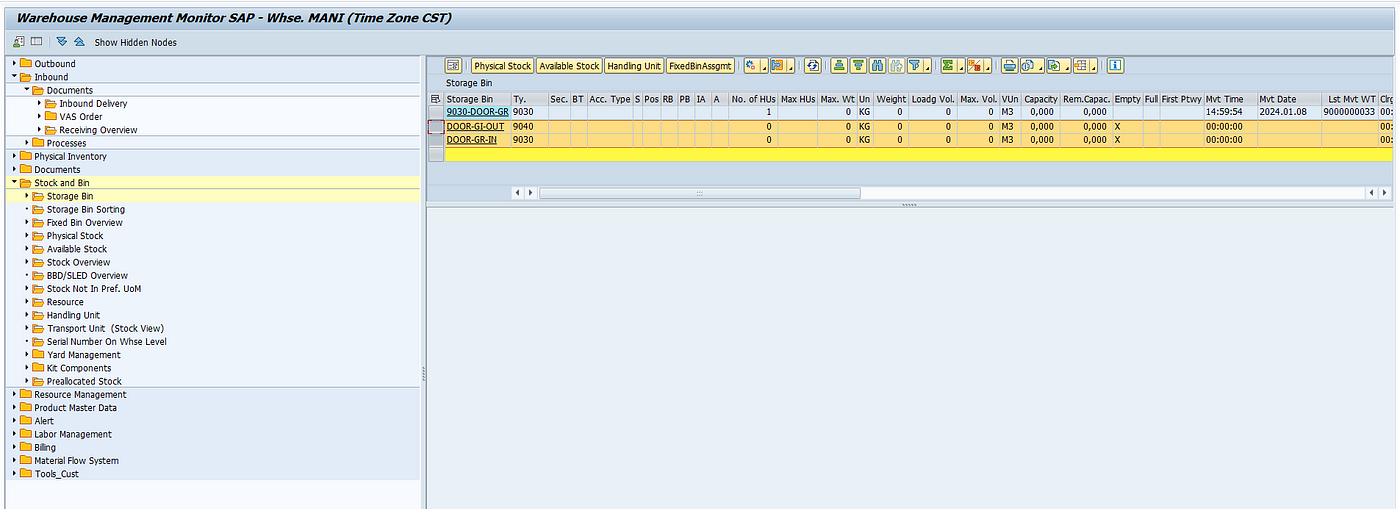
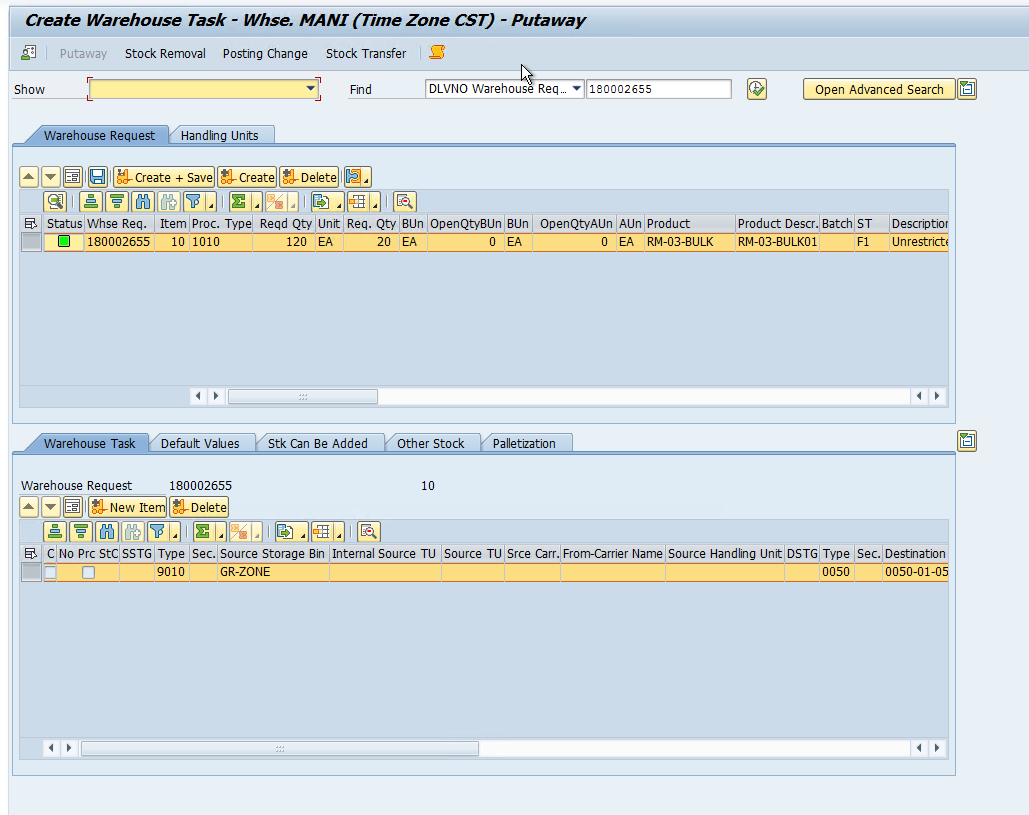
Step 15: Now we will create an Inbound delivery and check in the EWM if it is distributed and if HU was created automatically, if HU is missing please create an HU manually. Click on Goods Receipt.
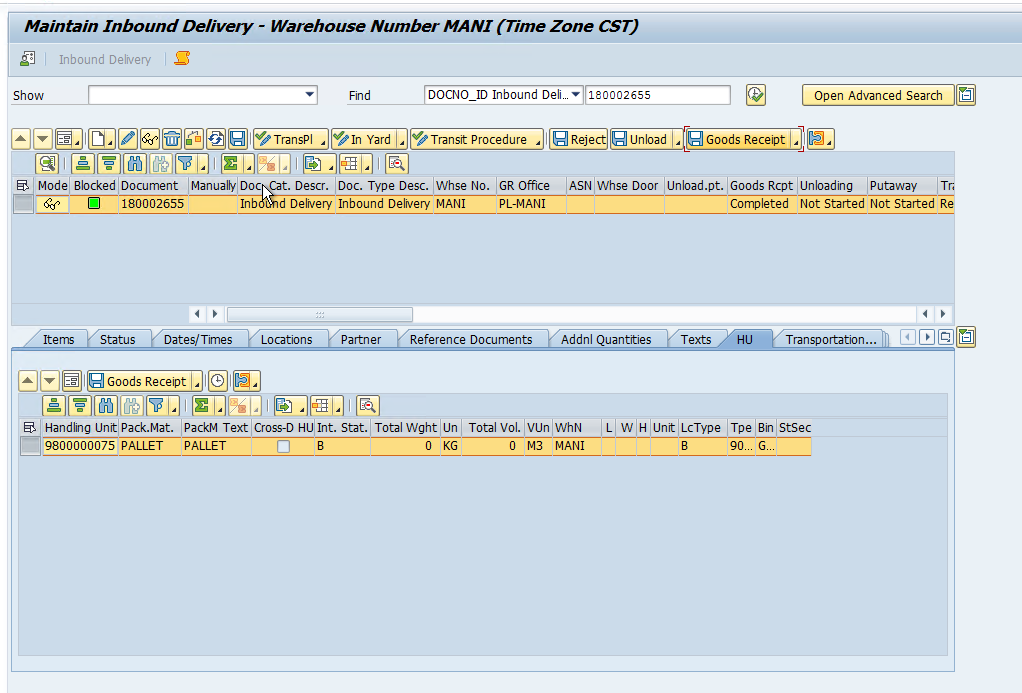
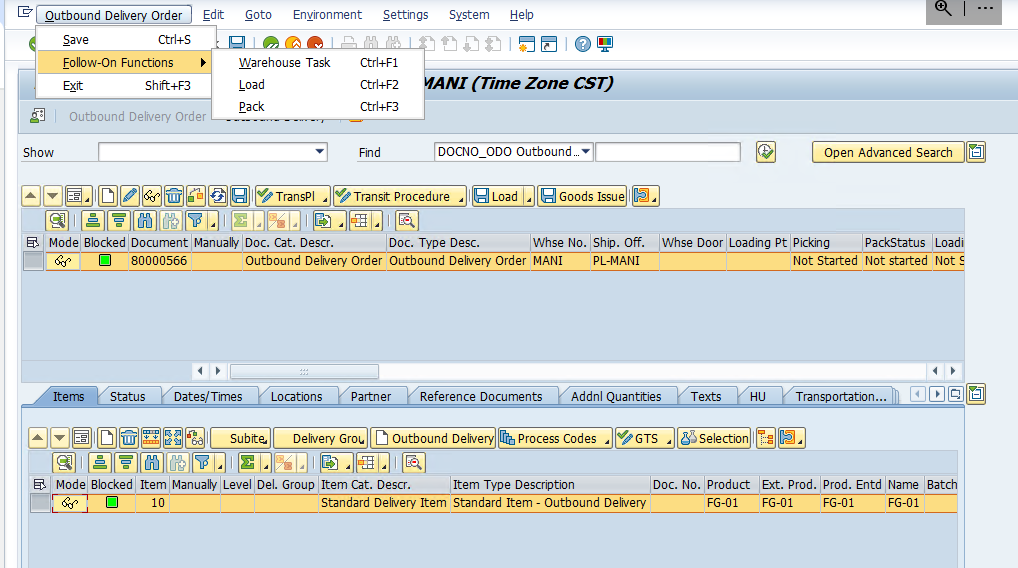
Now use the subsequent function to create WT.
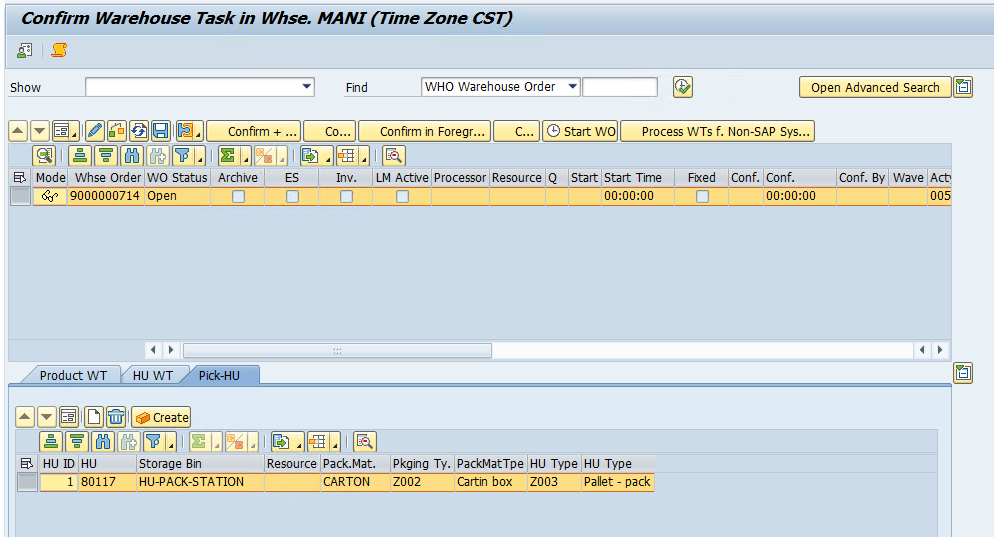
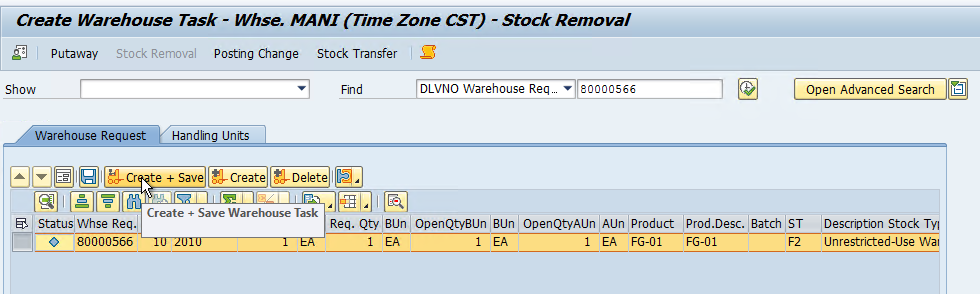
Since we created Inbound for 120 qty and HU only allows 100, we have an HU and 20 quantity as unpacked. First, we will create HU WT. Click on the Create and Save button.
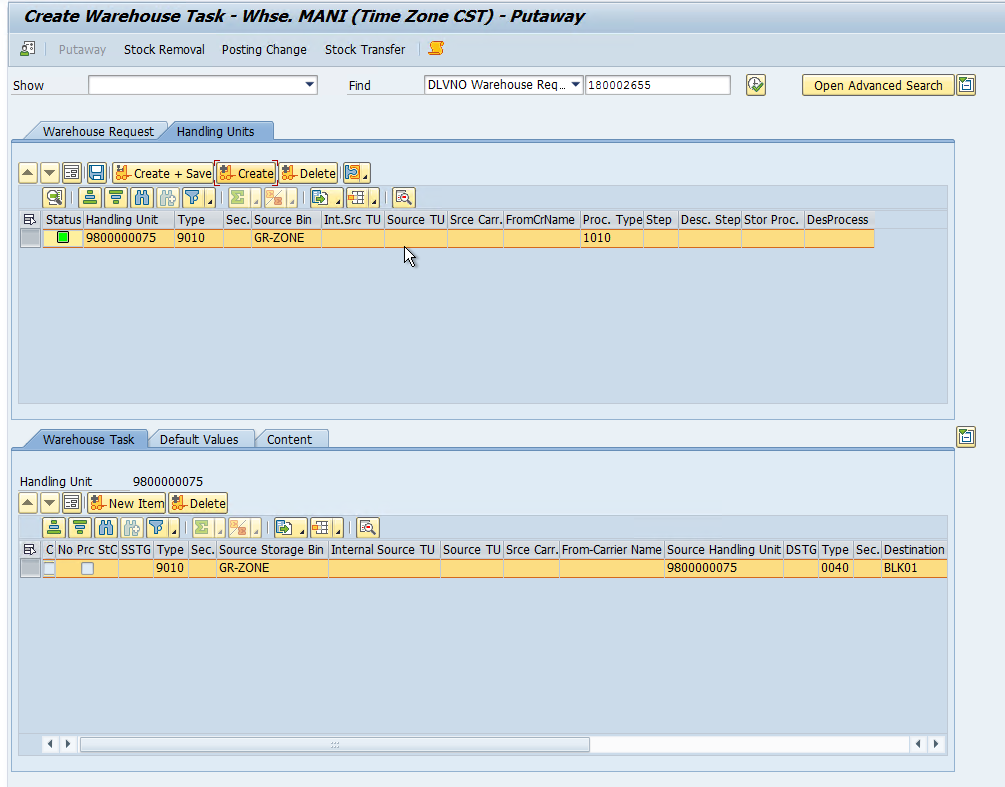
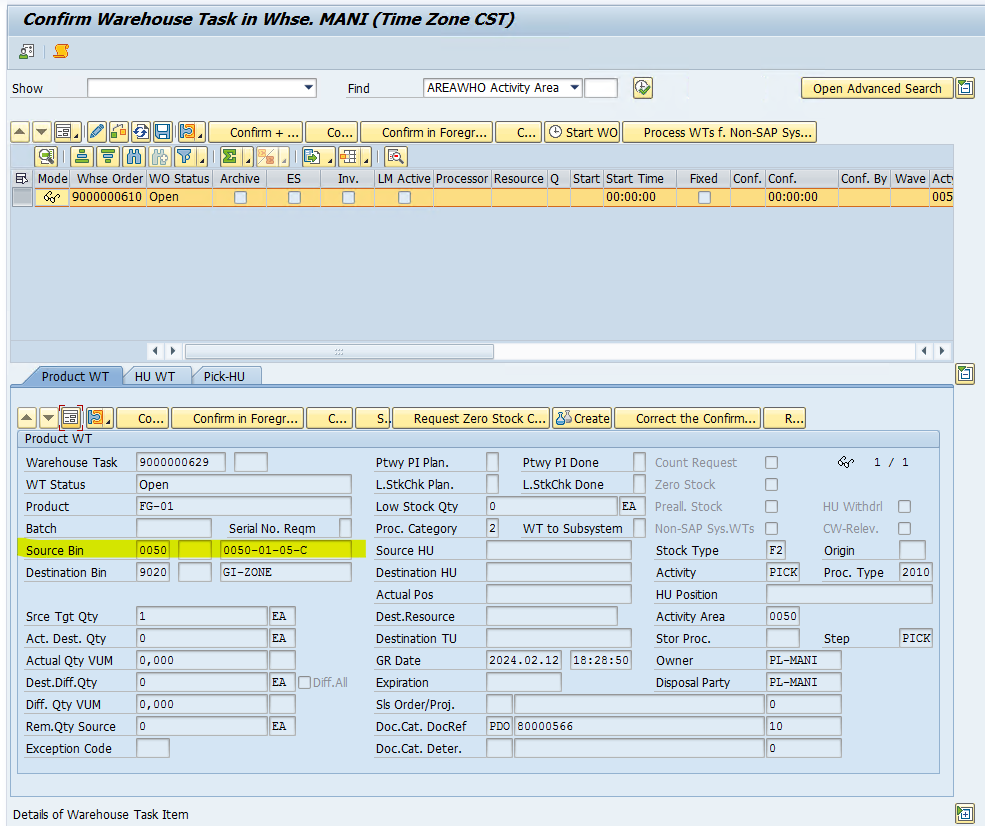
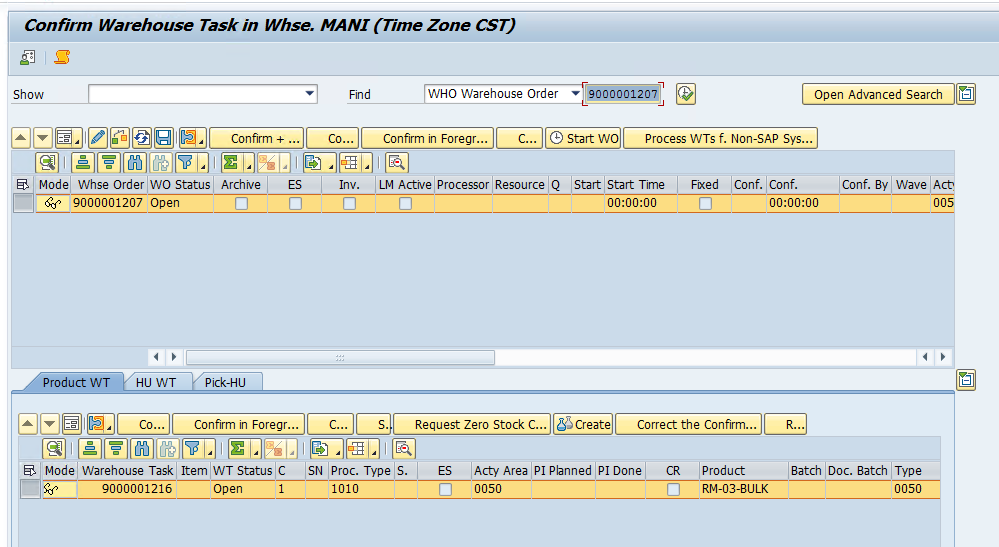
The Product WT is going to be kept in 0050 strType
The WO for HU has been assigned to the queue INBOUND because of the bin access type and the other WO is a stand-alone WO for 20 qty.
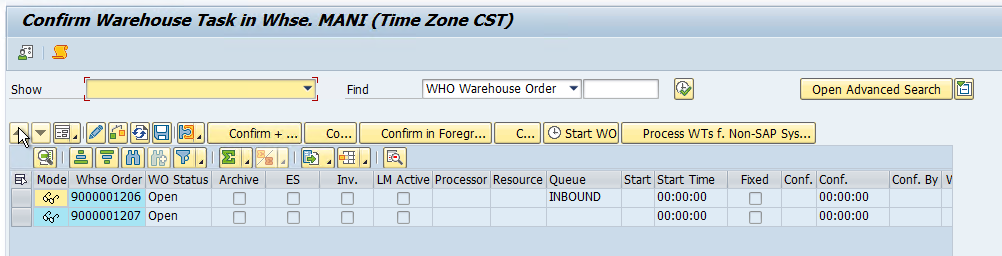
The superviser can now assign these WOs to the resource manually or recource can pick up the WO based on queue from the RF Menu.

System Guided > System Guided selection
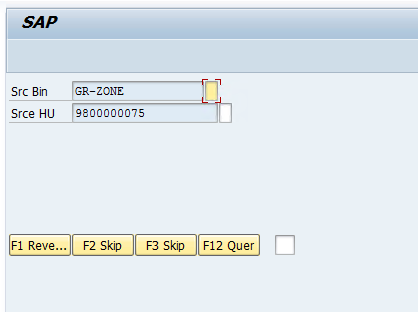
Now scan the Bin and HU and click enter
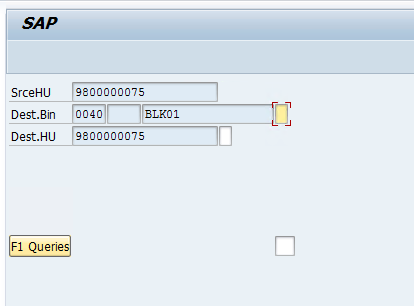
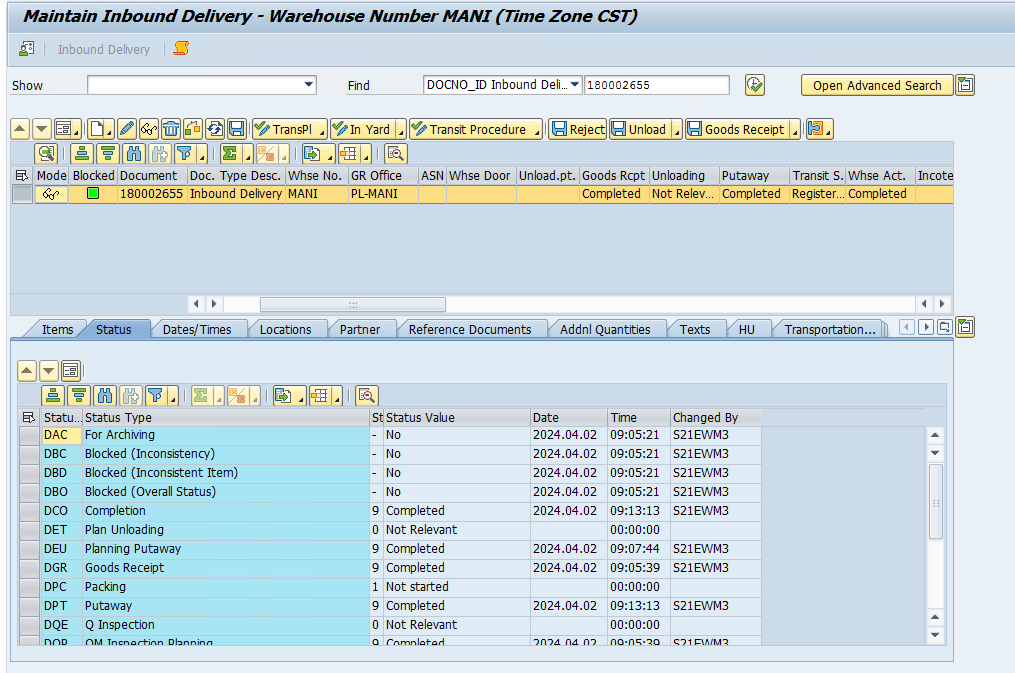
Now scan the destination bin and HU and click enter. The process will be completed. Now check the Inbound delivery and see what is the status.

Putaway is partially completed, we also need to Putaway the 20 qty in storage type 0050.
We can do that using Warehouse monitor or tcode /SCWM/TO_CONF or using RF Menu. Click on the confirm plus save button.

Check the Inbound delivery now.